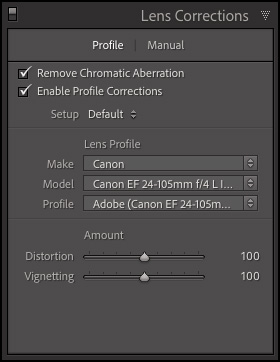
Lightroom Classic includes numerous lens profiles, which can be used to correct common lens aberrations such as barrel and pincushion geometric distortion (“barrel” distortion causes straight lines to appear to bow outward, “pincushion” distortion causes straight lines to appear to bend inward). Most lens profiles also correct for vignetting (where the corners of an image appear darker than the rest of an image). In addition, Lightroom Classic’s ability to remove chromatic aberration corrects for misaligned pixels in an image (also caused by lens distortion).
Raw and Non-Raw Lens Profiles — There are separate lens profiles for raw and non-raw files. Lightroom Classic’s Lens Correction panel’s lens profile popup displays only the profiles available for the file type of the selected image (if you’re working with a raw file, you will see raw-based lens profiles, if you’re working with a jpeg, you will see non-raw-based lens profiles. Adobe creates many more raw-based lens profiles available than non-raw-based lens profiles. This is due to the fact that lens correction quality for non-raw files (JPEGs, TIFFs, etc.) can be very problematic since the quality results depends on where the JPEG/TIFF came from, and how it was previously processed. For example, a JPEG that comes straight out of the camera is very different from a JPEG that somebody created from a raw file in ACR. If you try to apply the same non-raw-based lens profile to these two cases, you can get quite-different results (even though they’re both JPEGs from the same camera and lens).
Vignetting — To achieve even vignetting when cropping images, use the Lens Profile to remove vignetting caused by the lens and the Post-Crop Vignetting in the Effects panel to apply additional vignetting.
Built in Lens Correction Support — Some cameras have lens profile support built-in (Micro 4/3 (MFT) lenses and cameras for example, as well as other cameras (Fuji X, Leica Q, plus many point-and-shoot models from Canon). If your lens has built-in support, the Lens Corrections tab will display the message “Built-in Lens Profile Applied”.
Creating Custom Lens Correction Profiles — If you have a unique camera/lens combination or want to make your own custom lens profiles, you can use the Adobe Lens Profile Creator. Click here for more information.
Removing Chromatic Aberration — Chromatic Aberration is caused by the failure of the lens to focus different colors to the same spot. In one type of chromatic aberration, the image from each color of light is in focus, but each image is a slightly different size – this type of Chromatic aberration can be removed by enabling the Remove Chromatic Aberration check-box in the Lens Correction panel. Another type of chromatic artifact affects the edges of specular highlights, such as those found when light reflects off water or polished metal. This situation usually results in a purple fringe around each specular highlight and can be corrected using the Defringe options in the Manual tab of the Lens Correction panel.
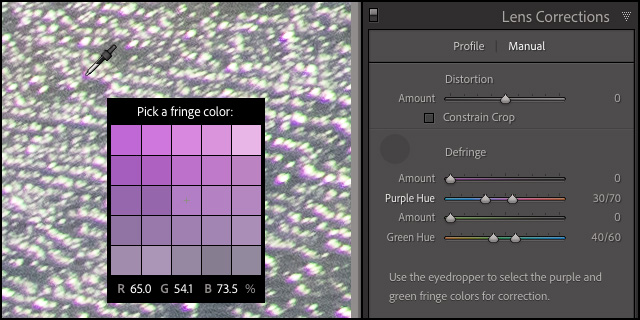
Using the eyedropper to select color to be “defringed”.
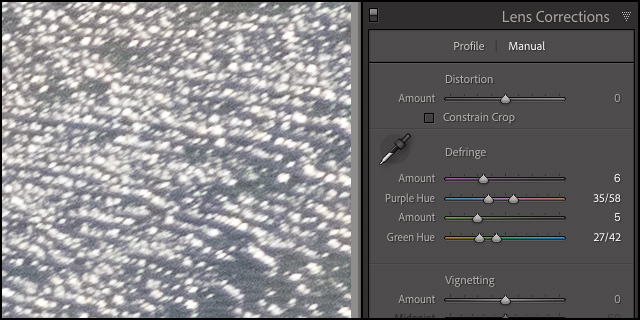
Defringe applied.

Before removal of chromatic aberration (most noticeable in upper right).
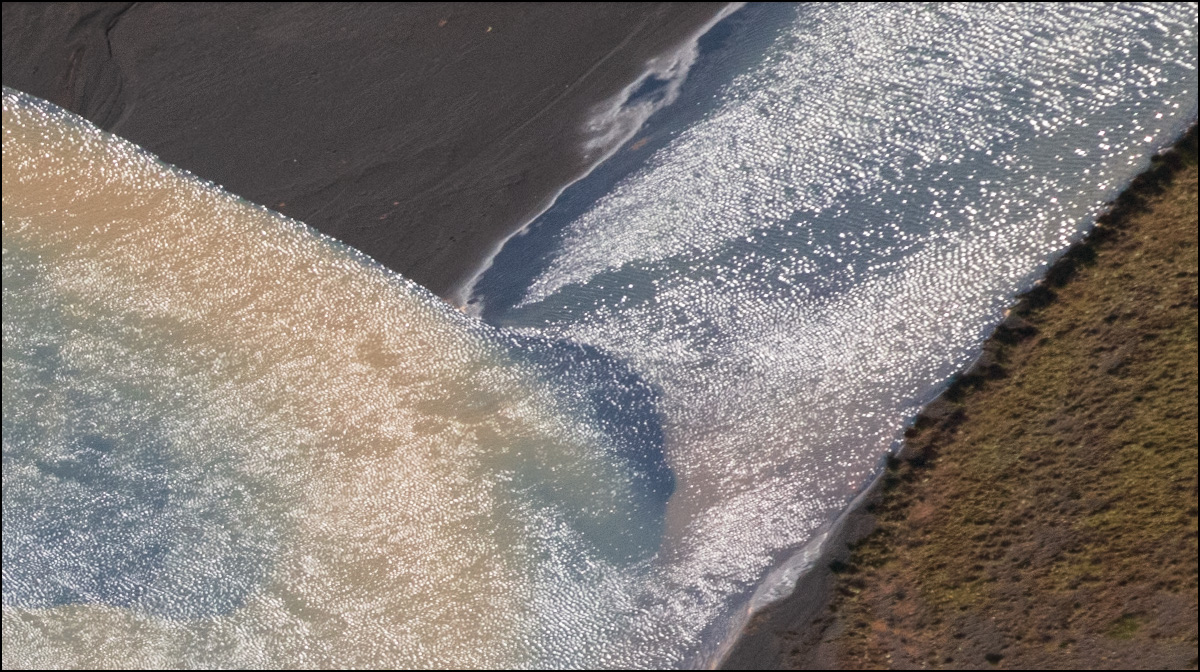
After removal of chromatic aberration (most noticeable in upper right).
Previewing Chromatic Aberration — Option -drag (Mac) | Alt -drag (Win) the Defringe sliders to display a high contrast preview of the areas being effected. For more information regarding Chromatic Aberration, click here.
This link provides additional information on how to include Lens Profile Corrections as part of your Raw Default Settings (in order to automatically apply Lens corrections when importing images).
I have a Nikon Z6. How do I set up the Lens Profile for my Z series lenses? I don’t see them listed under Nikon. How should I set the “Setup” tab under Lens Corrections? Should It be on Auto?