In the video below (3, 2, 1, Photoshop! How to Create Flames in Photoshop), you’ll discover how easy it is to create flames in Photoshop!
It’s easier than ever to create realistic flames in Photoshop along user-defined paths. First, create a path (using the pen tool or any of the shape tools), then choose Filter > Render > Flames. Note: you need to have a pixel layer targeted in the Layers panel as a landing place for the flame to be created (not a Shape, Type, or Smart Object layer). There are a significant number of customizable options to render flames of all shape and sizes.
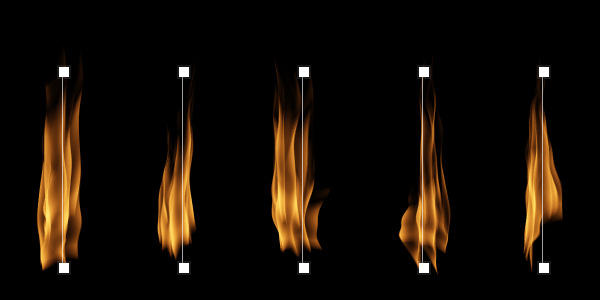
The six different Flame Types are:
- One Flame Along Path — A single flame will be rendered on each path.
- Multiple Flames Along Path — More than one flame will be rendered on each path. The flames will follow the direction of the path.
- Multiple Flames One Direction — Multiple Flames will be rendered on each path. All of the flames will point in the same direction.
- Multiple Flames Path Directed — Multiple Flames will be rendered on each path. Each Flame will point according to the path angle.
- Multiple Flames Various Angle — Multiple Flames will be rendered on a path. Each Flame will point randomly. You can control the angle variation by changing the “angle” parameter.
- Candle Light — One candle light will be rendered on a path.
and Multiple Flames One Direction. Flame Types across bottom: Multiple
Flames Path Directed, Multiple Flames Various Angle, and Candle Light.
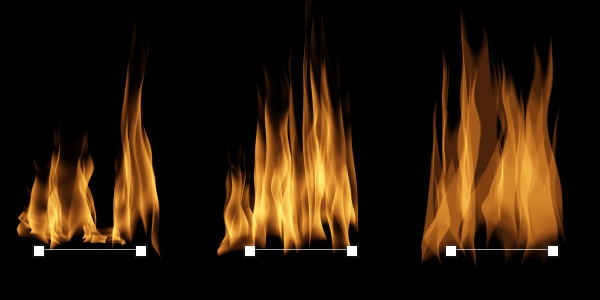
Another variable is the Flame Style which include: Normal, Violent and Flat.
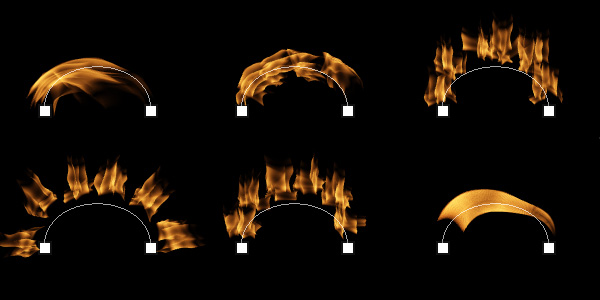
The Flame Shape can also be varied and include the following options:
- Parallel — The lines that construct the flame are parallel.
- To The Center — The lines that construct the flame point toward the center.
- Spread — The lines that construct the flame spread away from the center.
- Oval — The vectors that construct the flame shape are curved in an arc.
- Pointing — The lines that construct the flame point converge at one point.
In addition, many other parameters can be changed including:
- Length — Flame length in pixels (available for Flame Types #2-5).
- Width — Flame width in pixels.
- Angle — Flame angle (available for Flame Types #3-5).
- Interval — Pixel length of the gap between flames (available for Flame Types #2-5).
- Adjust Interval For Loops — When checked, if the path is a loop, “Interval” will be adjusted so each gap between the flames will be uniform or even.
- Flame Lines (Complexity) — This setting will increase/decrease the number of lines in each flame (each flame is made up of lines under the hood).
- Turbulent — This controls the calmness and roughness of the flame.
- Jag — If this is greater than 0, the flame will be jagged.
- Opacity — This controls the opacity/transparency of the flame.
- Flame Bottom Alignment — When this number is 0, each line that constructs the flame is evenly aligned. When this number is greater than 0, they will be randomized.
- Color — Choose from any color by clicking in the swatch and using the color picker
- Quality — This is always a trade-off – the lower the quality, the faster the render. However too low of quality might result in pixelated or jaggy edges.
- Randomize Shapes — when checked, the flame shape will be different every time a flame is created.
- Arrangement — The Randomize option must be turned off to access the Arrangement parameters to create identical flames.
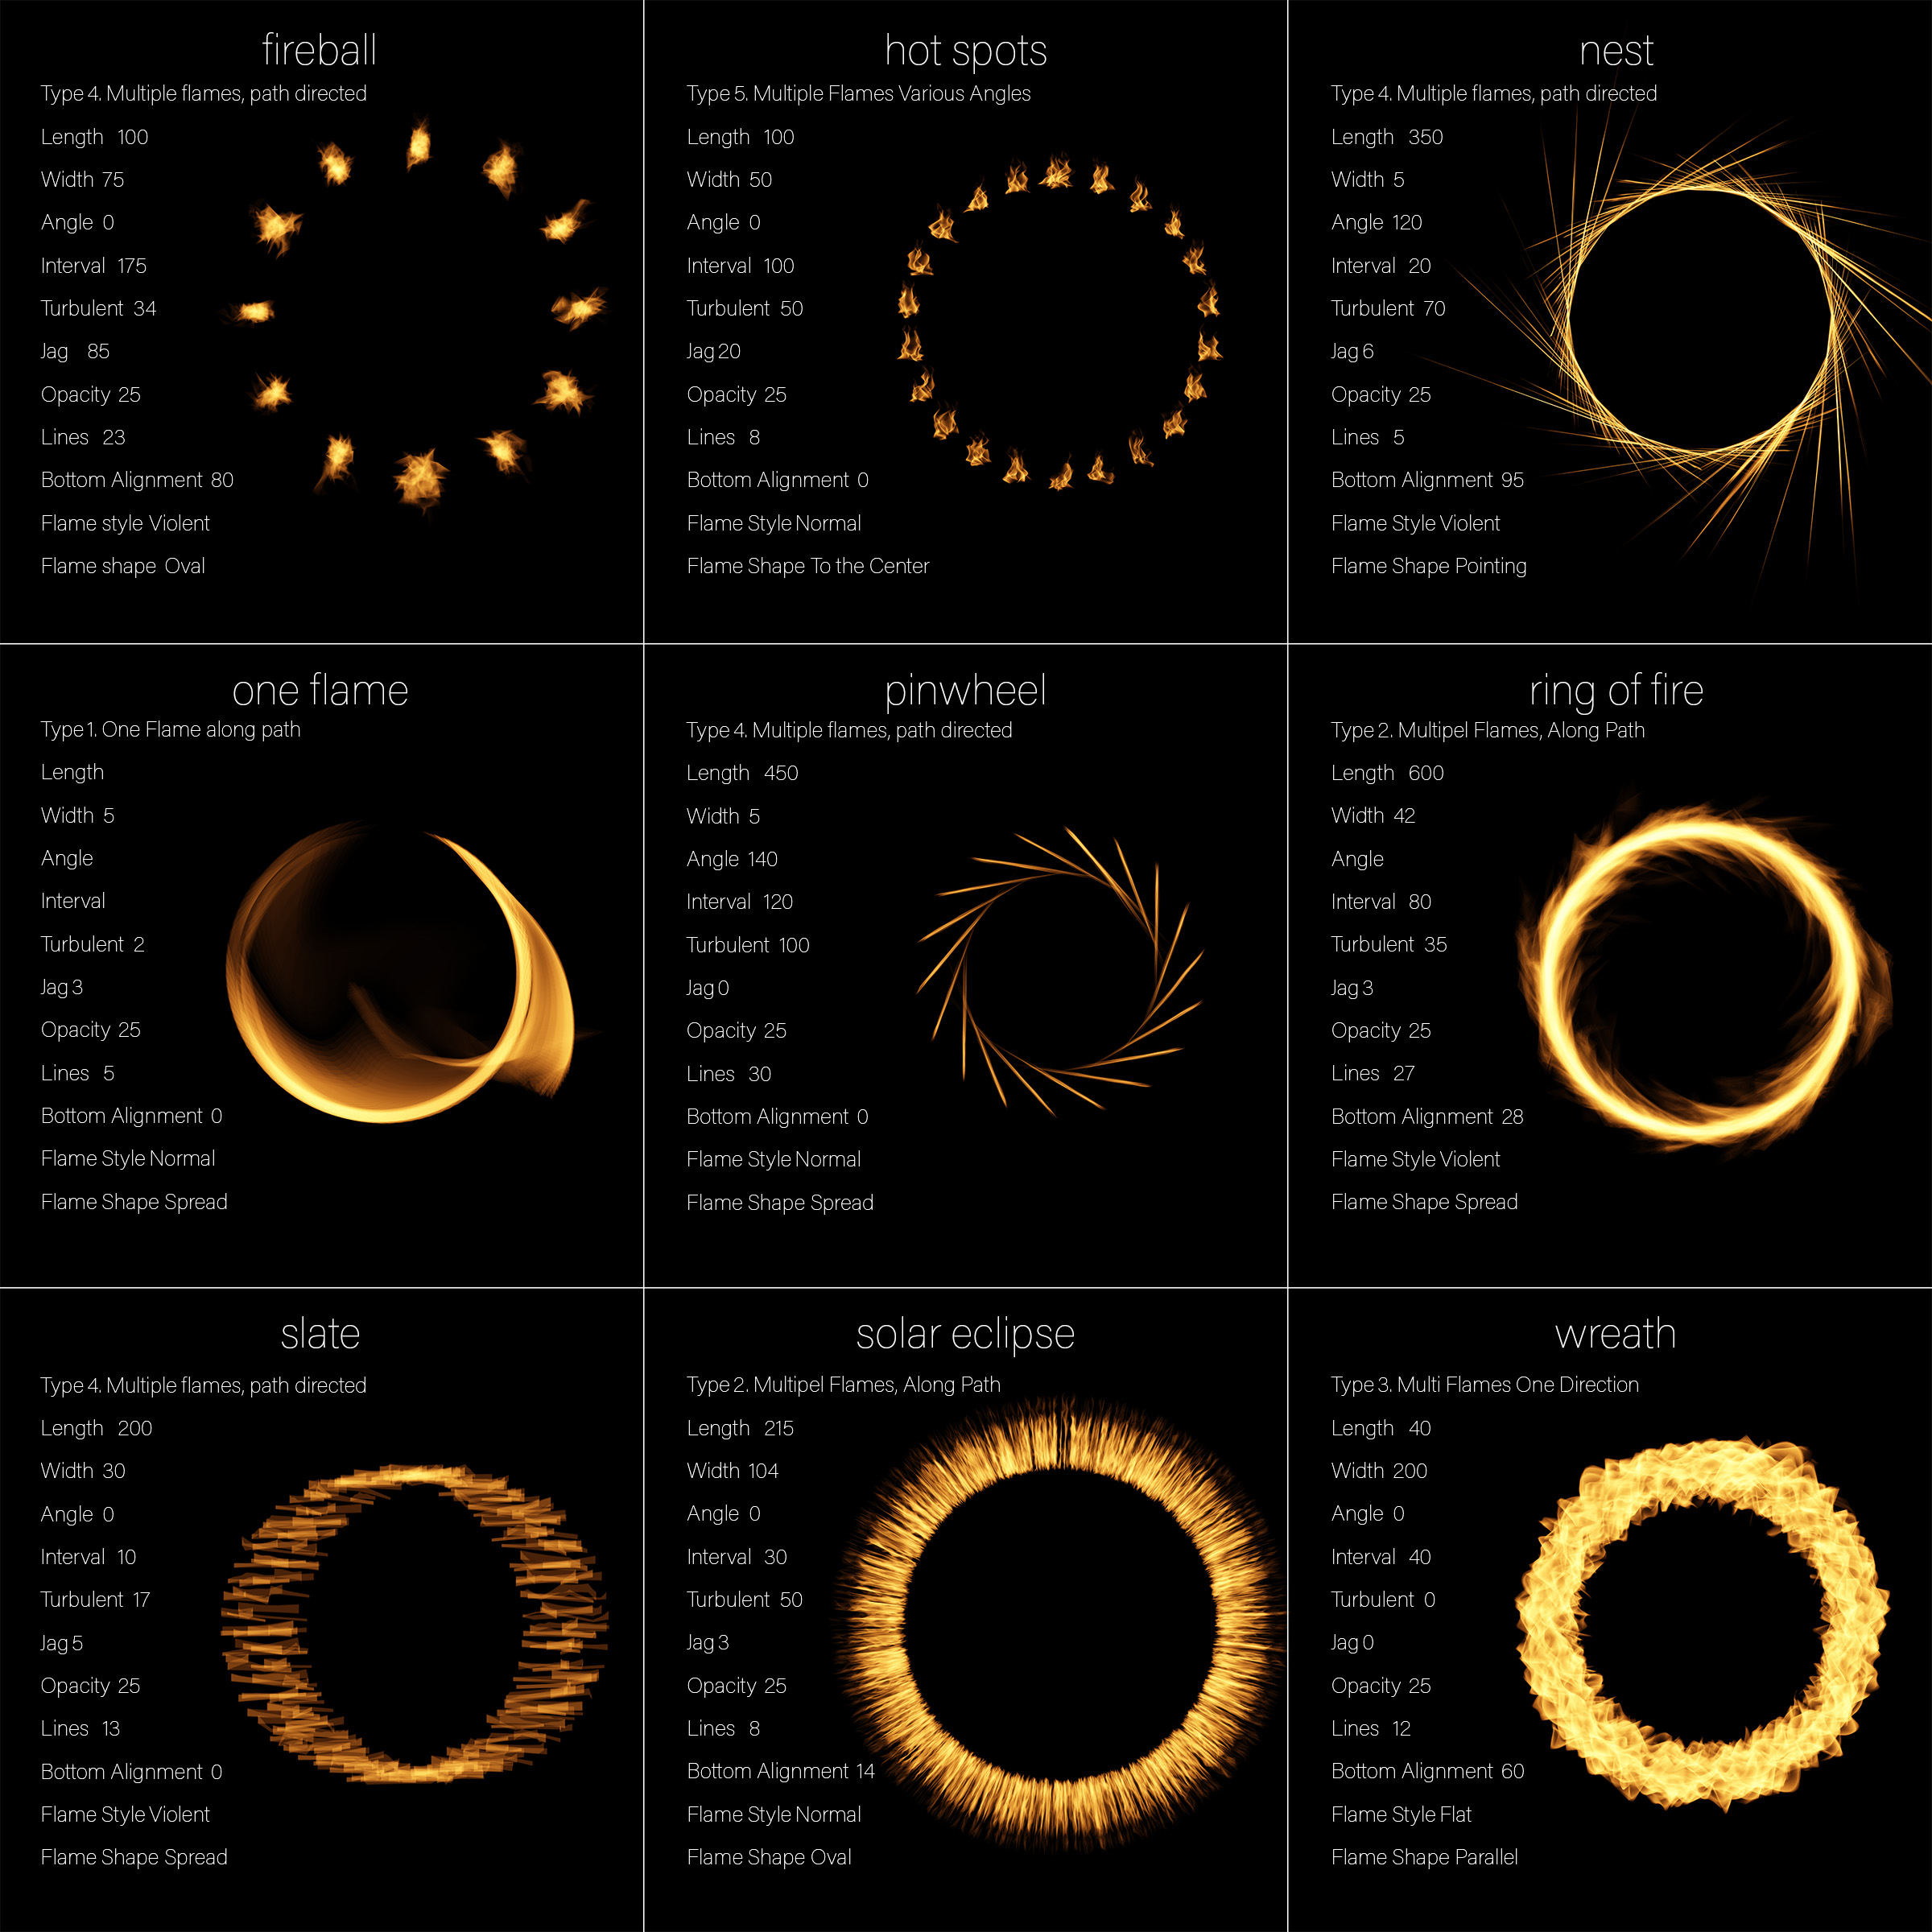
Below are a several examples of the different flames and their settings. Click the image to view full size. Note: All of the flames were based on a circular path.
Is there a reason why the render flames option is grayed out in my dialogue box?
Are you working on a Smart Object? OR perhaps a Type layer. The Filter only works on raster (“pixel”) layers.
I am working on raster layers but still, my filter is grayed out. Do I have to use 64 bit CC?
Do you have 512MB of VRAM on your video card?
I am having the same issue. I have created a new document that is 300 x 300 pixels.I also used the paint bucket tool to fill the background black. I then used the pen tool to create a path. When i go to Filter > Render > Flames, it is grayed out.
Do you have 512MB of VRAM on your video card?
This is pretty doggone awesome!
It looks great Julieanne. I have tried using this filter but it remains greyed out. Can you help?
Hi Charles, does your video card have 512 MB of dedicated VRAM?