In this video, you’ll discover how to create a custom identity plate not only to display in Lightroom Classic, but also when outputting and sharing your photos.
To customize the Identity plate in Lightroom Classic using either text or a graphic, choose:
- (Mac) Lightroom Classic > Identity Plate Setup
- (Win) Edit > Identity Plate Setup
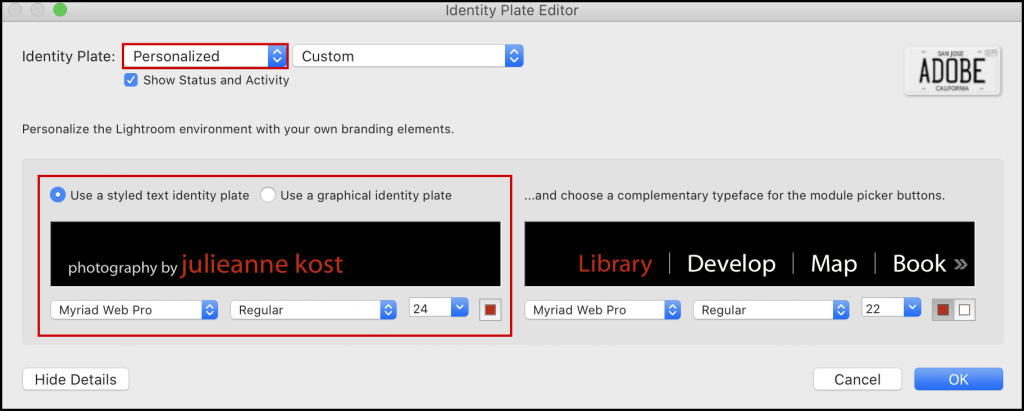
From the Identity Plate drop-down menu, choose Personalized.
- To customize the text, click the “Use a stylized text identity plate” radio button, enter the desired text, and make any desired changes to the typeface, size, and color. Note: To make changes to only a portion of the text (such as changing the color of the name in the example below), first select the text that you want to effect, then make the changes.
- To customize the graphic, choose “Use graphical identity plate”. Click “Locate File”, to navigate to and select a graphic (such as your logo). After customizing the Identity Plate as desired, use the dropdown menu at the top of the dialog to save it. Note: Saving the Custom Identity Plate enables you to access them from the Book, Print, Slideshow and Web output modules in Lightroom Classic.
When using a graphic as the identity plate to be displayed in the upper left of the Lightroom Classic application:
- Mac — use a graphic that is no more than 41 pixels high (JPG, GIF, PNG, TIFF, PDF, or PSD).
- Win — use a graphic that is no more than 46 pixels high (BMP, JPG, GIF, PNG, or TIFF).
Note: Graphics that will be used in other modules such as slideshow, print, and export, will most likely require larger graphics.