In this video you’ll learn how to quickly crop and straighten images, work with custom aspect ratios, and display Crop tool overlays to improve a photo’s composition in Lightroom Classic’s Develop module.
Below are twenty tips to increase your productivity when cropping and straightening images in Lightroom Classic.
1) Tap the “R” key to select the Crop tool. Note: this shortcut works in any module.
2) When you first select the Crop tool, click and drag in the image area to set the crop. After the initial crop is created, use the handles to resize the crop. Drag within the crop marquee to reposition the crop.
3) Tap Return (Mac) | Enter (Win) to apply the crop and dismiss the tool, (or, double-click in the image preview area).
4) Tap the Escape key to dismiss the crop tool without applying the crop. Note: if the image was previously cropped, tapping Escape resets the crop to the start of editing session.
5) Command + Option + R (Mac) | Control + Alt + R (Win) will reset the crop.
6) Option -drag (Mac) | Alt -drag (Win) a corner handle of the Crop marquee to crop from the center. Option -drag (Mac) | Alt -drag (Win) any midpoint handle of the Crop marquee to crop from the horizontal or vertical center.
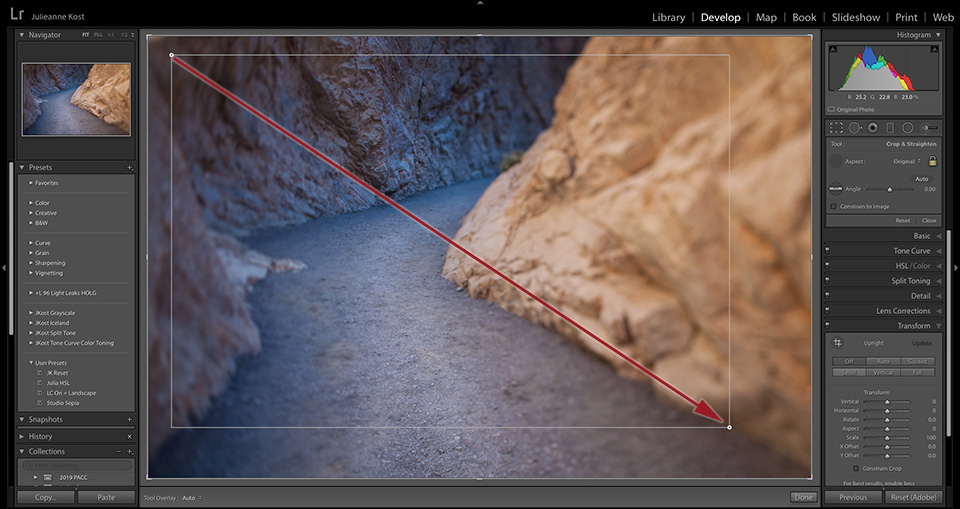
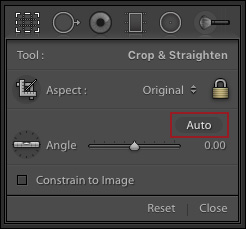
7) Click the Auto button, to have Lightroom Classic perform an auto level (similar to clicking the Level button in the Transform panel). Note: this works best when the image has a distinct horizontal or vertical line(s).
8) To manually straighten an image, position the cursor outside of the Crop marquee (the icon changes to a double headed arrow) and click -drag to rotate.
9) Command -drag (Mac) | Control -drag (Win) with the Crop tool to temporarily invoke the Angle tool. Command + Option + drag (Mac) | Control + Alt + drag (Win) with the Crop tool to temporarily invoke the Angle tool and display a Grid Overlay.
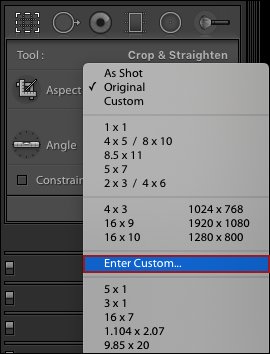
10) To crop to a specific aspect ratio, select one from the list of default/preset aspect ratios or, choose Enter Custom from the list and create your own. Lightroom Classic will save the last 5 custom aspect ratios entered.
11) “X” toggles the orientation of the crop (horizontal to vertical).
12) “A” toggles on/off the Constrain Aspect Ratio lock.
13) Press Option (Mac) | Alt (Win), then select an aspect ratio (from the Crop tool’s drop down menu) to apply the aspect ratio while expanding the crop to the image bounds.
14) When moving through images, Shift + A crops to the aspect ratio of the previously selected photo.
15) By default, the Crop Tool displays an overlay (Tools > Tool Overlay > Always Show). To display the overlay only on mouse-down, choose Tools > Tool Overlay > Auto Show.
16) Tap “O” to cycle through the different Crop Overlay options. Add the Shift key to change the orientation of the selected overlay. Note: use the Center overlay (Tools > Crop Guide Overlay > Center) to quickly pinpoint the center of the cropped area.
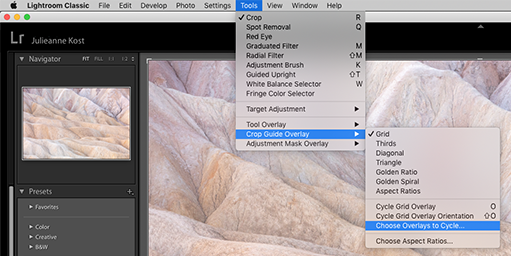
17) To define which Overlays are shown, choose Tools > Crop Guide Overlay > Choose Overlays to Cycle.
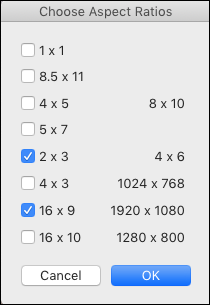
18) In order to visualize how an image might be cropped when a specific aspect ratio (or several aspect ratios) are needed, choose Tools > Crop Guide Overlay > Choose Aspect Ratios. Select as many aspect ratio overlays as desired. Note: this can be helpful when showing clients different cropping options.
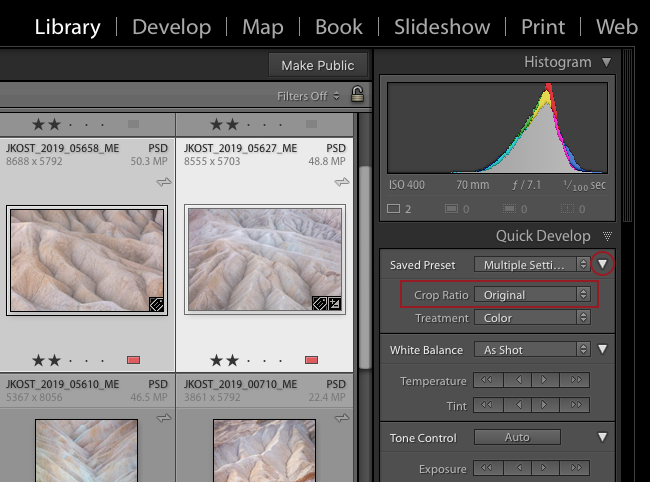
19) To apply the same crop aspect ratio to multiple images while in the Library module’s Grid view, click the disclosure triangle to the right of Saved Preset in the Quick Develop panel. Then, select the desired Crop Ratio from the list. Note: this will crop all selected images to the chosen aspect ratio, but it may be still be necessary to reposition the crop on each image individually in the Develop module.
20) Control -click (Mac) | Right -click (Win) within the crop marquee to access a number of crop-related features including: Reset Crop, Crop as Shot, Constrain Aspect Ratio, and Crop to Same Aspect Ratio.
And one final tip: don’t forget that applying a crop in Lightroom Classic only commits to a specific aspect ratio. The size of the image will be determined when exporting or using the output modules.
