2024 -05 Updated Tethering Support — Lightroom Classic now supports tethering with a selection of Sony cameras. Note: tethering is limited to still image capture (not video). Additional Canon camera models are also now supported. Click here to view the list of supported cameras.
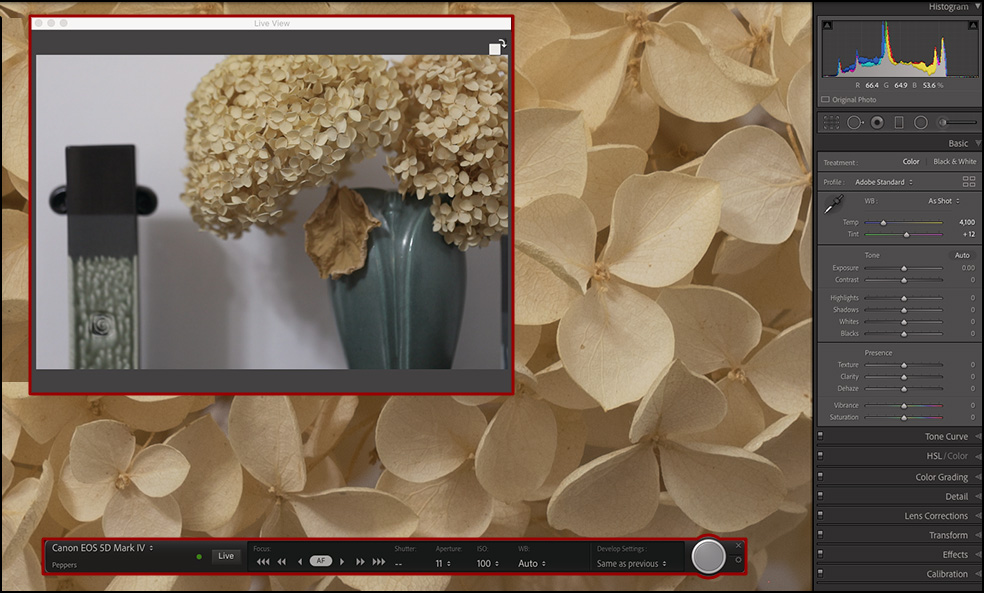
2021 – Updated Live View in Tethered Capture — Lightroom Classic supports Live View when tethering with several Nikon and Canon cameras. Live View is especially valuable when not in reach of the viewfinder and/or when collaborating with teams behind the screen. With Live View, you can now see your camera’s real-time feed (shown in a separate window which can be resized as well as rotated as needed), focus control buttons (including Auto Focus), and exposure settings. Note: Focus controls are enabled only if the lens is in Auto Focus mode.
In this episode of The Complete Picture (Tethered Capture with Lightroom 5), Julieanne walks though setting up the Tethered capture setting in Lightroom and demonstrates how to automatically apply develop settings and presets as well as sort by descending order to view the most recently taken photograph.
Here are some shortcuts/tips to keep in mind while working tethered:
- When shooting tethered, (File > Tethered Capture > Start Tethered Capture) make any necessary adjustments to first capture, then (in the Tethered Capture window, under Develop Settings Choose “Same as Previous” to apply to subsequent images.
- Once open, Command + T (Mac) | Control + T (Win) toggles the Tether Capture window.
- When shooting tethered, you can control camera settings including Aperture, Shutter Speed, and ISO.
- Option -click (Mac) | Alt -click (Win) the close button to collapse/expand the tether toolbar to the shutter button.
- Command + Shift + T (Mac) | Control + Shift + T (Win) creates a New Shot (this doesn’t capture a photo, but creates a new folder to capture to).
- Command + Option + Shift + O (Mac) | Control + Alt + Shift + O (Win) enables a PNG image to be overlaid over the captured image (to preview what the image might look like on the cover of a magazine for example).
- Display a grid during Tethered Capture by selecting View > Loupe Overlay > Grid. To toggle the display of the overlay, select Grid from the menu or, use the shortcut: Command + Option + O (Mac) | Control + Alt + O (Win.
- Click here to find a list of cameras supported via tethered shooting.
- You can automatically add images to a collection when shooting tethered.
- A “Disable Auto Advance” feature is available in the Tether settings window.
Rossetta on Mac — When Lightroom Classic is running in Rosetta mode, the title bar will display: Rosetta/Emulation Mode On. When running Lightroom Classic under Rosetta mode, quitting and relaunching will automatically open Lightroom Classic in the native (Apple Silicon) mode. You can also open Lightroom Classic under Rosetta using the Creative Cloud desktop app: choose All Apps, Desktop, and click the three dots next to Lightroom Classic to choose Open (Intel).
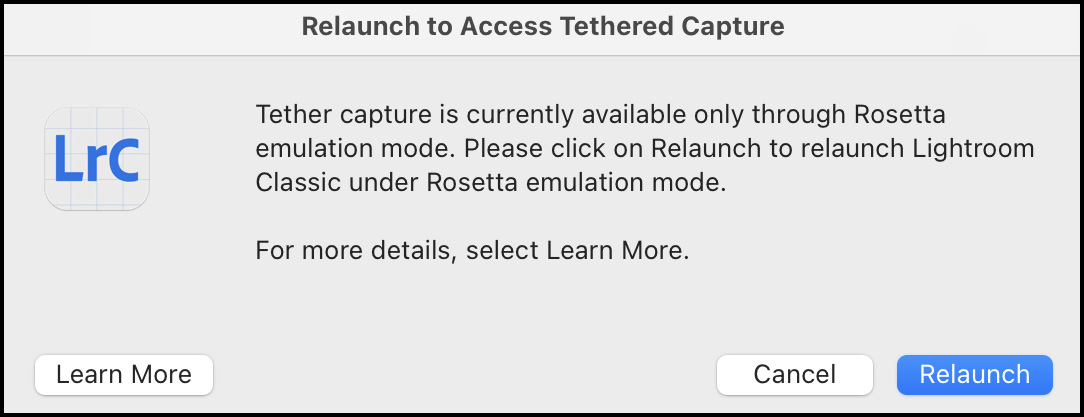
For more information on Tethered capture on Apple Silicon, please click here.
Thank you for the tutorial.
For me all is ok with Canon 7D but not with Olympus OM-D e-M5 on Mac 10.9.1 % LR 5.3. the camera is recognized in import menu, but not in Tethered capture !
I thing the input/output from the camera is not compatible
Yves/CH
Here is the list of cameras that are supported by Lightroom:
http://helpx.adobe.com/lightroom/kb/tethered-camera-support-lightroom-4.html
If you just want to display photos from your Olympus camera in LR while shooting, using an EyeFi SD card and setting it up to transfer JPEGS to a watched folder on your computer will allow these pix to pop up in LR. For this purpose I shoot RAW images and small JPEGs. The smaller the JPEG the quicker it will show up in LR. Obviously, this means that I have to physically import my RAW files later from the card to LR, and I have no computer control over my camera, but for the sake of proofing while shooting, this is an OK procedure.
Julieanne, thank you for the link, but…. I like my Olympus and my MBA… this is very light weight to traveling…….
End this function is very easy in studio. Please add this to the next release ! 🙂
Yves/CH
I am a mac user with 10.7 OS. I recently purchased LR5 and thought to try out the tethered shooting feature with my Nikon D300. In the ‘Tethered Capture Settings’ window it shows the naming format as a DNG file. I only import image files in their native ‘NEF’ format though I am aware of the advantages of ‘DNG’ files.
Anyway I noticed the captured images were named as ‘nef’ files with its standard sidecar XMP file. Note the lower case lettering. I am not able to move these files to my external HD because these images were grayed out in the Import window. However if I changed the format names to upper casing, NEF, these images are visible for import.
How can I avoid the extra step of having to the change the casing of the letters and have the captured images in the tethered shoot all have the correct upper casing instead?
Thanks.
BTW I enjoy watching your video tutorials. There are well presented with clear to follow instructions.