Enhance Raw Details is a new approach to one of the most important aspects of raw conversion; demosaicing. The demosaicing process is what converts the information captured by a camera sensor into the photograph that we all see. Enhance Raw Details works on images captured using both Bayer and X-Trans sensors in order to improve the rendering of small-scale details and to prevent artifacts such as false colors, moirés, and zippering. On images captured using Bayer sensors (like those on Canon, Nikon and Sony), you will most likely find diagonal lines to be rendered cleaner (less jaggy). On images captured with X-Trans sensors (such as the Fuji X-series) you will most likely find better small-scale and color detail (fewer artifacts).
When applying Enhance Raw Details to an image, it is necessary for Lightroom Classic to create a new DNG file in order to contain both the mosaic data and the enhanced RGB data (as a result the new DNG file will be larger than a traditional DNG file). Because Enhance Raw Details takes time to run (it performs best with a fast GPU), I would suggest applying it on an image-by-image basis starting with images that have visible artifacts and which require the highest level of quality (images that will be printed large format, for example).
To apply Enhance Raw Details, in either the Library or Develop module, select the photo and choose:
- Photo > Enhance…
- Use the shortcut Control + Option + I (Mac) | Control + Alt + I (Win)
- Right -click on the image(s) and choose Enhance… from the context sensitive menu
When a single image is selected, a Preview dialog box is displayed (click and hold to preview with and without Enhance Raw Details applied). When multiple images are selected, Lightroom Classic will directly start the DNG creation process. Note: All metadata and develop setting will be included in the new file, and it’s name will be automatically appended with “-Enhanced”.

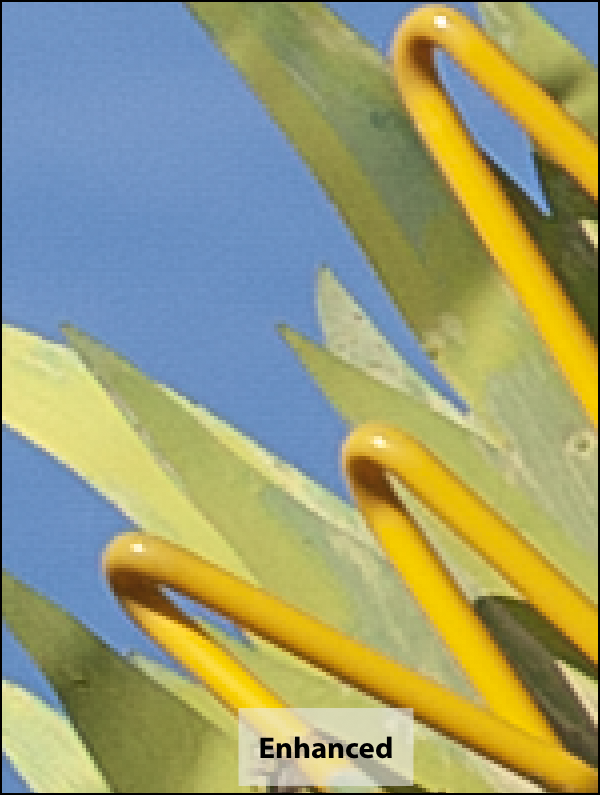
It has been my experience that Lightroom is already doing an excellent job demosaicing the majority of my images created using the Canon 5Ds and Mark IV, but there have been instances (like in the illustrations above) when I’ve noticed an improvement when applying Enhance Raw Details. I don’t have a camera with an X-Trans sensor, but from the images that I’ve seen in the forums, I have a feeling that those customers will be very happy with the improvements that Enhance Raw Details offers them.
Three important notes:
- Enhance Raw Details requires macOS 10.13 (or later) or, Windows 10 (Oct 2018 Release).
- Enhance Raw Details can not be applied to PSD, JPEGs, TIFFs, HEICs, or Smart Previews.
- Enhance Raw Details can not be applied to DNG files saved with Lossy Compression, DNG files’s saved with 1.1 compatibility, or Linear DNG files such as DNG files created using Photo > Photo Merge (HDR, Panorama, or HDR Panorama). Enhance Details can be used on the individual exposures and then merged together.
Click here for more information on Enhance Raw Details.
Got excited to see the mention of tethering. Just I need to upgrade from 7.5 to 8.2.