Lightroom Classic (v12.4) — Updates to Masking, Editing, and More!

Adobe Lightroom Classic

Lightroom Classic (v12.4) includes several updates and enhancements to masking and editing including:

Masking Updates — Use the new Grain slider in the Effects panel when using any of the masking tools to add Grain selectively within an image.  Note: Grain consists of three sliders: Amount, Size and Roughness. The Amount slider can be set differently for each adjustment made (global and local) however the Size and Roughness sliders are shared across all Grain tools.  

Tone Curve — When making adjustments using the Point Curve, Lightroom will automatically change both luminance and saturation values to create a more visually pleasing image. To decrease the changes made to saturation use the Refine Saturation slider. The default setting of 100 will create the same results as in previous versions of Lightroom while decreasing the value will lessen the changes made to saturation. Setting the slider to 0 restricts the effects of the Point Curve to only the luminance values. 

In addition, when Copying / Pasting settings as well as when creating Presets, you can now choose to include the Parametric Curve, Point Curve, or both.   

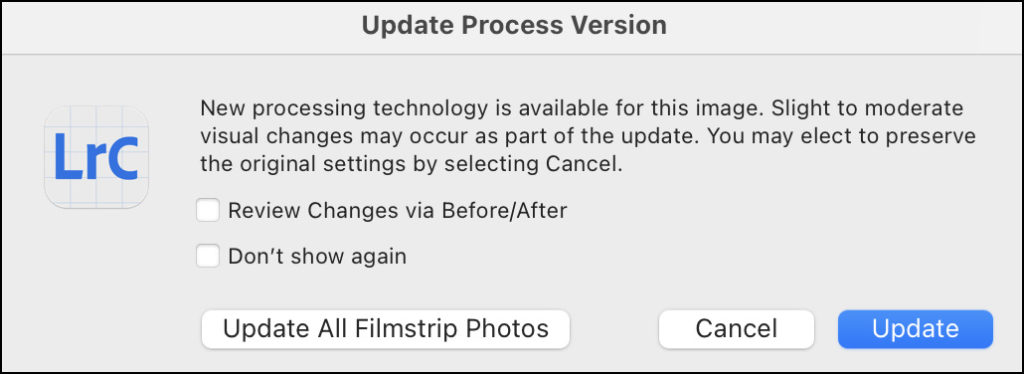
Process Version — To reduce banding when adjusting images, Lightroom’s Process Version has been updated to version 6. When editing images which have been processed in previous versions, Lightroom displays a dialog stating “New processing technology is available for this image. Slight to moderate visual changes may occur as part of the update”. You can then choose to preserve the original settings, review changes via Before / After, or choose to Update. 
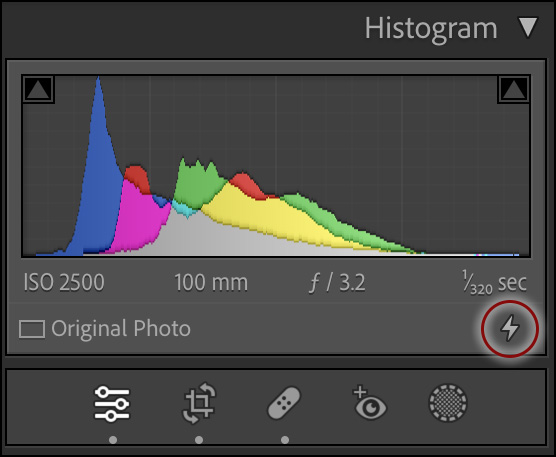
To quickly update the Process Version and bypass the dialog, Option -click (Mac) | Alt -click (Win) the lightening bolt icon in the Histogram panel. 

HSL and Color Panel Panels — To view the color range being adjusted in the image in color, while displaying all other color ranges in grayscale, Option -drag (Mac) | Alt -drag (Win) the HSL sliders or when using the Targeted Adjustment tool (TAT). This makes it easier to see which colors are being adjusted in the image.

In addition, the Color panel displays edit indicators (small grey dots under the color icon), making it easy to see when changes have been made to specific color ranges. 


Adobe Lightroom Classic

Posted on 06-13-2023


Comments

  • By Terry Donofrio - 9:31 PM on June 15, 2023  

    12.4 review — well done — thank you