Adobe Camera Raw (v15.4) includes several updates and enhancements to masking and editing including:
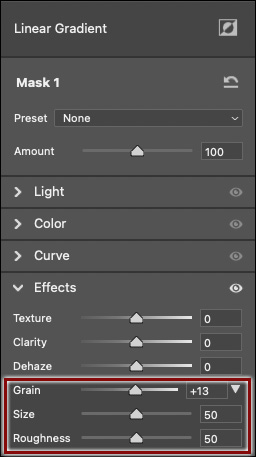
Masking Updates — Use the new Grain slider in the Effects panel when using any of the masking tools to add Grain selectively within an image. Note: Grain consists of three sliders: Amount, Size and Roughness. The Amount slider can be set differently for each adjustment made (global and local) however the Size and Roughness sliders are shared across all Grain tools.
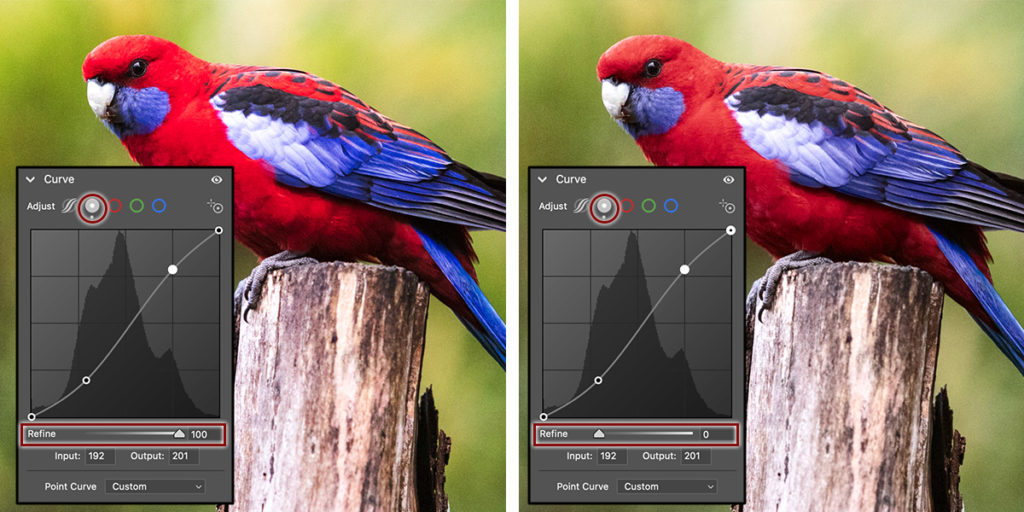
Refine Saturation Slider — When making adjustments using the Point Curve, Camera Raw will automatically change both luminance and saturation values (while preserving the Hue) to create a more visually pleasing image. To decrease the changes made to saturation use the Refine Saturation slider. The default setting of 100 will create the same results as in previous versions of Camera Raw while decreasing the value will lessen the changes made to saturation. Setting the slider to 0 restricts the effects of the Point Curve to only the luminance values. Note: the Refine Saturation slider is only available when working with the main Point Curve (not per-channel RGB curves, and not the Parametric Curve). It is also disabled for B&W photos and when Saturation is set to -100.
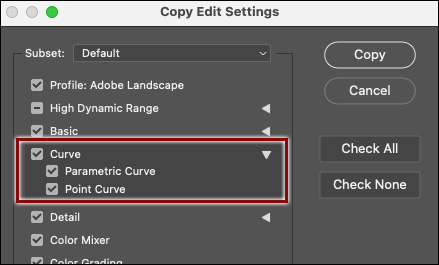
In addition, when Copying / Pasting Edit Settings as well as when creating Presets, you can now choose to include the Parametric Curve, Point Curve, or both.
Process Version — To reduce banding when adjusting images, Camera Raw’s Process Version has been updated to version 6.
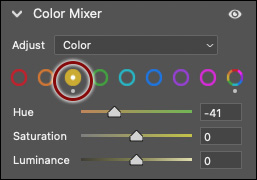
Color Mixer Panel — To view the color range being adjusted in the image in color, while displaying all other color ranges in grayscale, Option -drag (Mac) | Alt -drag (Win) the HSL sliders or when using the Targeted Adjustment tool (TAT). This makes it easier to see which colors are being adjusted in the image. Note: when using the TAT, two hues will be in color.
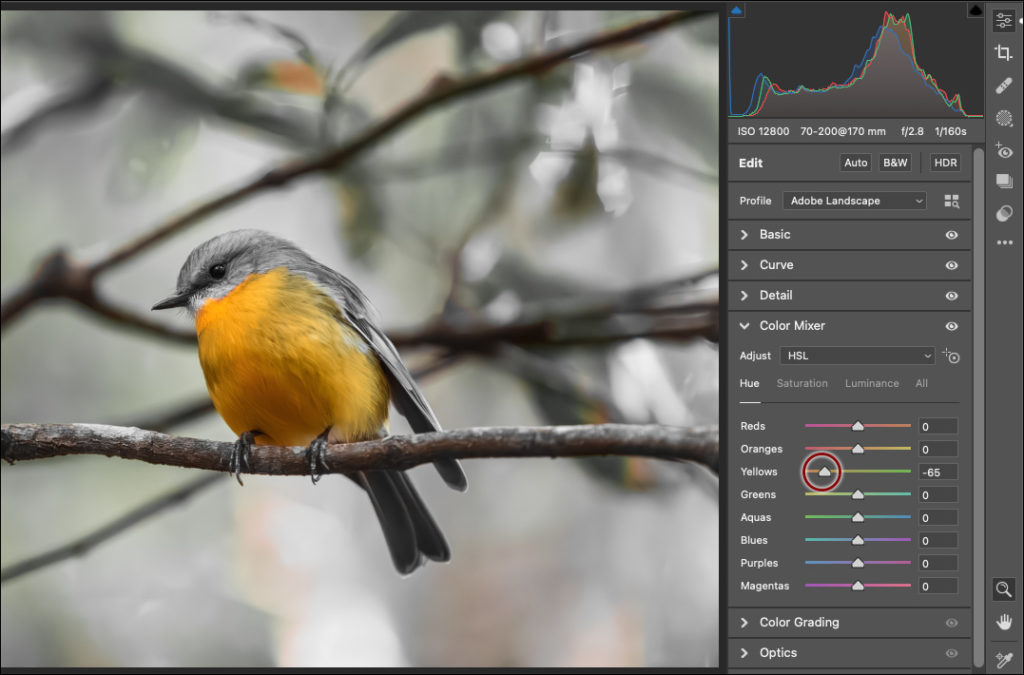
In addition, when setting the Adjust option to Color, edit indicators (small gray dots under the color range icon), make it easy to see what color ranges have been changed.
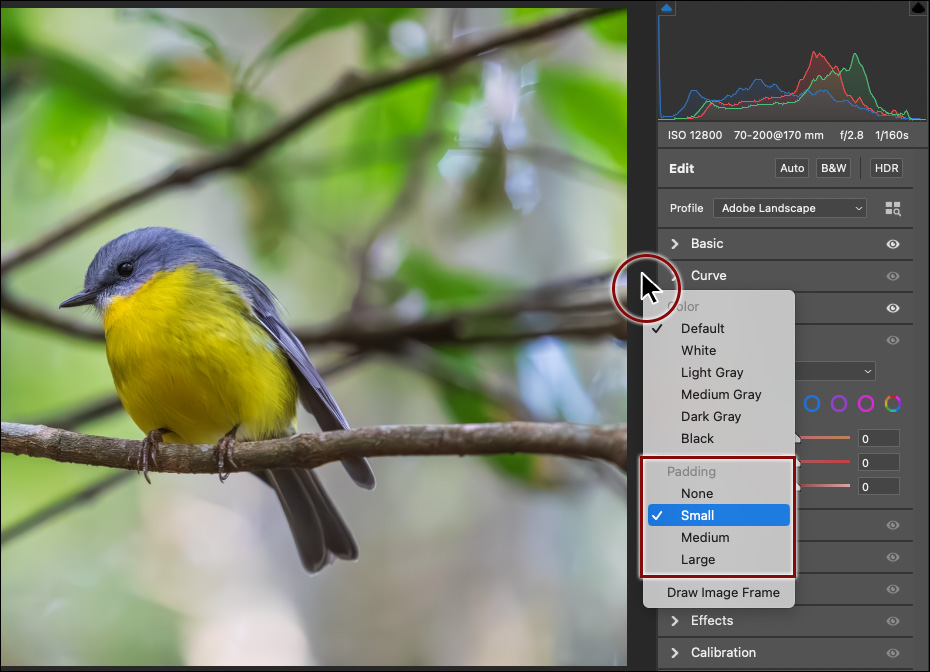
Canvas Padding — Right -click (Control -click on Mac) in the canvas area to select how much canvas surrounds the image in Fit View (None, Small, Medium, Large).
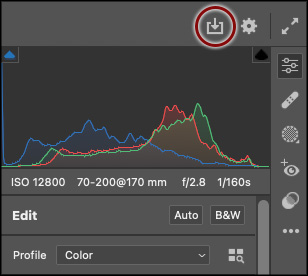
Camera Raw as a Filter — Click the save icon when applying Camera Raw as a filter in Photoshop, to save photos from within the filter as TIFF, Photoshop, JPEG, or PNG files. Note: Command + S (Mac) | Control + S (Win) also displays the Save dialog when adding Camera Raw as a filter.
This version also contains support for new cameras, bug fixes, and faster launch times.