In this video, you’ll learn how to add capture sharpening using the Detail panel in Lightroom Classic.
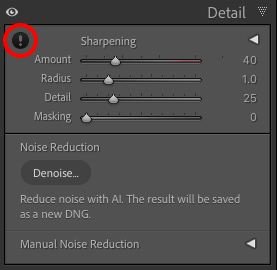
Accurate Previews — Zoom into 100% to accurately view the effects of sharpening as well as noise reduction in the image preview area. To quickly preview an image at 100%, click the exclamation mark (!) icon in the Detail panel. Note: the preview area within the Details panel must be collapsed to display the warning icon.
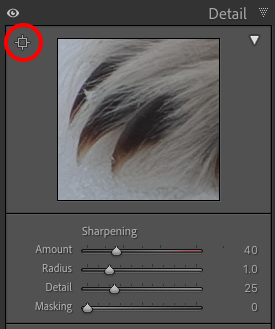
To preview a smaller portion of the image in the Detail panel at 100% while viewing a different zoom view in the preview area, click the disclosure triangle to the right to the word Sharpening. Then, select the Adjust Detail Zoom icon (the small square icon), and click in the image preview area to display in the panel at 100%.
Sharpening Previews — Option -drag (Mac) | Alt -drag (Win) the Sharpening sliders to display a greyscale preview of the slider’s effect.
The Detail and Masking sliders suppress sharpening in the lower contrast areas of an image. As a rule of thumb, the Detail slider is better at suppressing sharpening in high-frequency images such as landscapes while the Masking slider is better at suppressing sharpening when working with portraits.
Sharping Values — When applying sharpening to images captured with different cameras, the amount of sharpening applied under the hood may differ (even if the sharpening value is set to the same number).