In the video below, you’ll learn how to make adjustments to the Hue, Saturation, and Luminance values of specific color ranges in an image using the Color Mixer panel in Lightroom Classic. This video (Everything You Need to Know About Point Color in Adobe Camera Raw) further explains the Point Color feature.
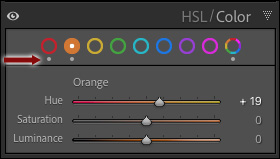
The Targeted Adjustment Tool — The HSL and Color adjustments contain the same color controls (just displayed differently) with one notable exception – the HSL panel includes the Targeted Adjustment tool which can be especially helpful when adjusting colors that extend beyond a single color range (red/orange or orange/yellow for example).
- To select the Targeted Adjustment Tool, click the small circle icon in the upper left of the panel and click-drag up/down in the image area to shift the corresponding slider(s).
- Use the following shortcuts to access the Targeted Adjustment tool for Hue, Saturation and Luminiance:
- Command + Option + Shift + H (Mac) | Control + Alt + Shift + H (Win) selects Hue.
- Command + Option + Shift + S (Mac) | Control + Alt + Shift + S (Win) selects Saturation.
- Command + Option + Shift + L (Mac) | Control + Alt + Shift + L (Win) selects Luminance.
Display All Options — With Mixer selected, and Adjust set to HSL, click “All” or, click “Hue”, “Saturation”, or “Luminance” twice to display all options at one time, HSL panel. With Adjust set to Color, click the rainbow icon at the right of the color range circles.
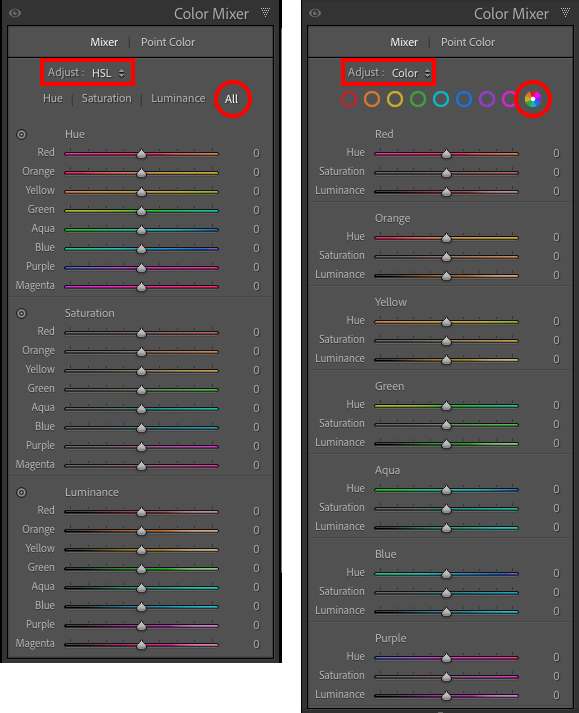
When the Adjust menu is set to Color, Lightroom Classic displays edit indicators (small grey dots under the color icon), making it easy to see when changes have been made to specific color ranges.
Preview Adjusted Colors — To view the color range being adjusted in the image in color, while displaying all other color ranges in grayscale, Option -drag (Mac) | Alt -drag (Win) the HSL sliders or when using the Targeted Adjustment tool (TAT). This makes it easier to see which colors are being adjusted in the image.
Reset Sliders — With the Adjust menu set to HSL, double click on the “Hue”, “Saturation”, or “Luminance” text to reset all sliders within the group. With the Adjust Manu set to Color, click the color name (red, Orange, Yellow, etc.) to reset all sliders within the group.
Black & White — To convert an image to black and white, in the Basic panel, set the Treatment to Black & White or tap the “V” key. When the Treatment of an image is set to Black & White, the Color Mixer panel automatically toggles to B&W. Note: you can also select a B&W profile using the Profile browser in the Basic Panel to convert an image’s Treatment to Black & White.
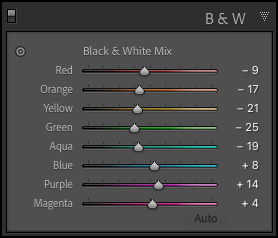
- Click the Auto button to have Lightroom Classic automatically convert the different color ranges to shades of gray.
- Use the sliders to customize the conversion of color ranges to B&W or select the Targeted Adjustment Tool (Command + Option + Shift + G (Mac) | Control + Alt + Shift + G (Win)) and, click-drag up/down in the image area to customize the conversion with added control.
In this video (Converting Photographs to Black and White), you’ll discover how to convert color photographs to black and white with precision and control in Lightroom Classic.
To add color to an image after converting to Black and White, check out this blog post on Color Grading: Adobe Announces Updates to Lightroom Classic (v10).