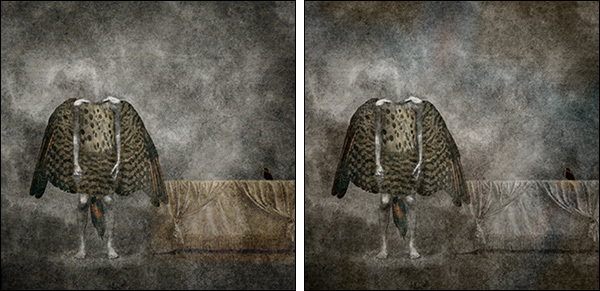
When creating composite images, I am often trying to unify multiple elements that were photographed at different times, in different locations, under different light conditions. One of the techniques that I use to establish consistency throughout the disparate elements is to use one of the source images as a color overlay for the entire canvas. In this example, I wanted to use the color from the wings layer to unite the other elements (such as the overly saturated table).
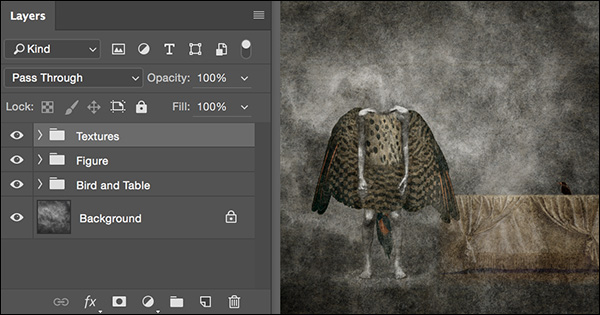
First, I selected the wings layer, duplicated it, and repositioned it at the top of the layer stack.
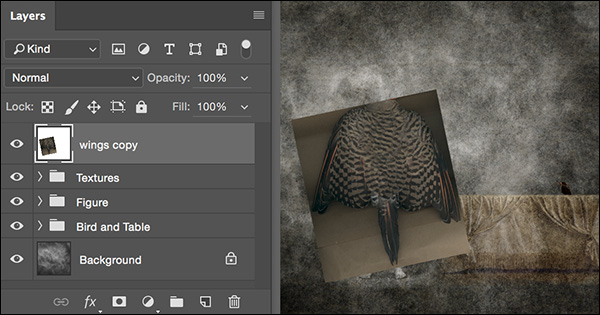
To resize the layer, I selected Edit > Free Transform > Scale (so that it would cover the entire canvas).
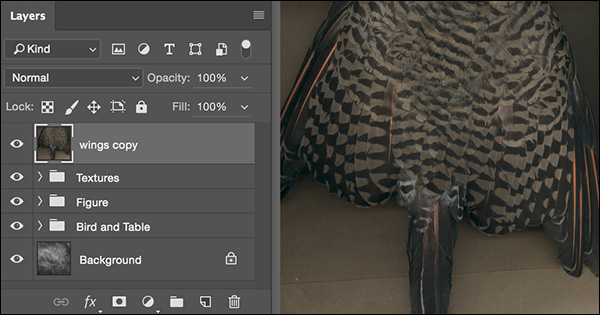
On the Layers panel, I changed the Layer’s blend mode to Color.
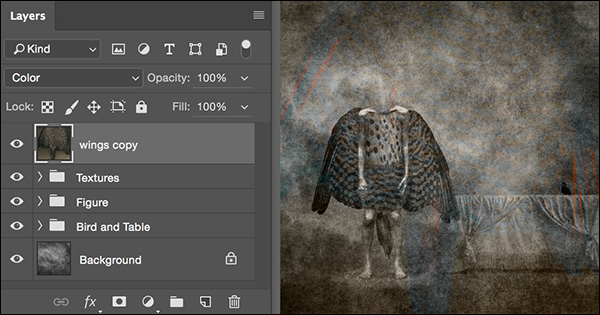
I selected Filter > Blur > Gaussian to remove detail, while still maintaining the color.
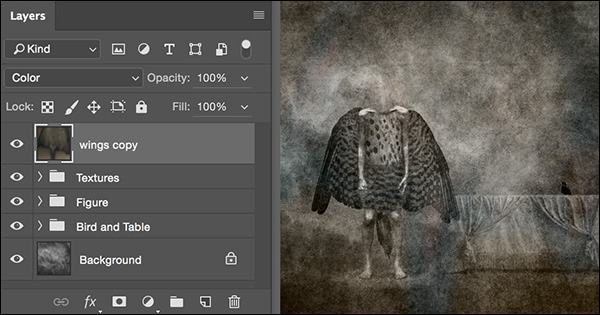
Then, I chose Edit > Free Transform, to flip the layer and reposition and resize the layer as needed.
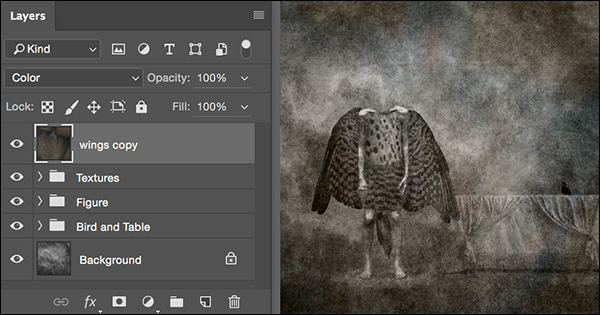
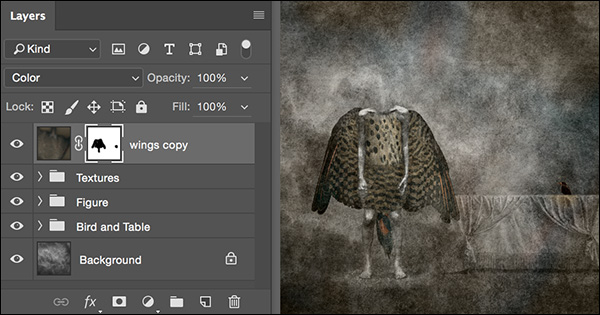
Finally, I added a Layer Mask and used the Brush tool to paint with black to hide the color from areas such as the figure.
Note: If you want to use more than one layer as the source for your “color”, select the desired area (using the marquee tool or whatever tool works) and choose Edit > Copy Merged to copy the information to the clipboard. Then, choose Edit > Paste. Photoshop will create a new layer that you can reposition, resize, etc. as needed.
For more information about compositing images in Photoshop, be sure to check out my training course on LinkedIn Learning:
Introduction to Compositing
thank you for this excellent advice!
Outstanding technique! Thank you for sharing this with us. Very helpful, indeed.