Here are several of my favorite tips, techniques, and shortcuts for working with filters in Photoshop.
Apply the Last Used Filter — Command + Control + F (Mac) | Command + Alt + F (Win) executes the last used filter.
Display the Last Used Filter — Command + Option + F (Mac) displays the dialog box for the last used filter. Note: there is no default keyboard shortcut for Windows, however you can make your own by customizing the shortcut for Filter > Last Filter and then adding the alt key when using that custom shortcut.
Filter Gallery — Filter Gallery can only be applied to 8 bit images. While in the Filter Galley dialog:
• Option -click (Mac) | Alt -click (Win) a filter’s preview icon to add it as a new filter (instead of replacing the current filter).
• Option -click (Mac) | Alt -click (Win) the disclosure triangle to the left of a Filter Category to expand/collapse all categories.
Note: If you prefer to view the artistic filters listed under Filter Gallery in the filter menu, select Preferences > Plug-ins > Show All Filter Gallery Groups and Names.
Quickly Find and Apply a Filter — If you know the name of the filter that you are trying to run, but don’t want to waste time finding it in the menus, use Command + F and type the filter name into the search dialog. If you often use the same filters, assign a keyboard shortcut to them using the Keyboard shortcut editor (Edit > Keyboard Shortcuts).
PDF with Examples of Photoshop Filters — I created this PDF (JKost_ArtisticFilters) for my Photoshop Essential Training course on Lynda.com | LinkedIn Learning. The examples are pretty straight forward, (meaning that I didn’t combine any filters to make “complicated” effects), but I think it’s a good resource especially for anyone that is teaching Photoshop.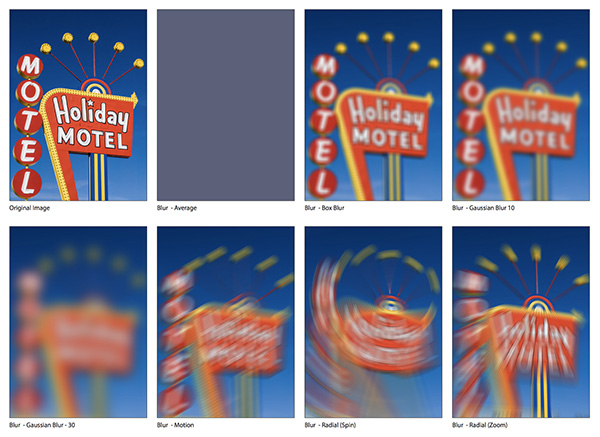
Non-destructive Filtering of Layer(s) — To apply a filter nondestructively, first convert the layer(s) into a Smart Object. Click here for more information on Smart Filters.
Fading Filters — Command + Shift + F (Mac) | Control + Shift + F (Win) displays the Fade options to change Opacity and Blend Mode of the fade last filter applied. Note: the Fade command can only be applied directly after running the filter and can not be used on a Smart Object (because Smart Objects are non-distructive and can be changed at any time using the Layers panel).
The Oil Paint Filter — In this video, How to Use the Oil Paint Filter in Photoshop, you’ll discover how to apply a painterly look to an image using the Oil Paint filter in Photoshop.
The Dust & Scratches Filter — The key to the Dust and Scratches filter (Filter > Noise > Dust & Scratches)is that you want to keep the Radius as low as possible and the Threshold as high as possible.
Shortcuts for the Adaptive Wide Angle Filter — Shift -dragging in the Adaptive Wide Angle Filter will constrain the line to be either a vertical or horizontal constraint (depending on the direction that you drag). If you have already drawn an arbitrary line and want to convert the line to a vertical or horizontal constraint, right click (or Control -click on Mac) on the selected line and choose Horizontal or Vertical from the list. Note that the color of the line changes from Ryan (when the line is Arbitrary) to yellow (horizontal) or magenta (vertical). Use the Adaptive Wide Angle Filter Preferences to change the colors of the constraints, Mesh, and Floating Loupe (select Preferences from the menu to the right of the Correction option).
The Fiber Filter — One of Photoshop’s filters that is often overlooked is the Fiber Filter. If you need to create an organic fiber texture, this filter will now render it for you automatically (Filter > Render > Fibers). You can control both the variance and strength of the “weave” as well as randomize the result until you find the perfect texture. Note: this filter uses the foreground and background colors selected in the tool box, so choose your colors before choosing the filter.
Surface and Shape Blur Filters —The Surface Blur filter is great for softening skin and giving images a “dreamy soft-focus” look. The Shape Blur filter blurs an object based on a shape of your choosing and creates an effect similar to light passing through an aperture of the given shape – try it, I think you’ll like it.
Always brilliant, Julianne. Thank you!
Great tips and useful tutorial! Thank you!