If you’ve ever opened a raw file from Lightroom Classic into Photoshop as a Smart Object and then made changes to the Smart Object and wished that you could easily save those changes back into the original file in Lightroom Classic, then keep on reading because it’s actually a very easy thing to do — once you know how to do it. : )
For those of you who are wondering why anyone would want to do this, here’s an example: I often create multi-image composites in Photoshop which are made up of several different photographs. In order to maintain the highest quality imagery and keep my workflow as flexible as possible, I open the individual raw files from Lightroom Classic into Photoshop as Smart Objects. After editing the contents of the Smart Object to make the needed adjustments (typically to adjust color and tone, but also to remove dust spots, make local adjustments, refine texture and clarity settings etc. that I may have missed in the original image), I often decide that I prefer the edits I’ve made to the Smart Objects in Photoshop and want to apply the same edits to the original raw file in Lightroom Classic.
So, how do I do this? Here is the step by step process:
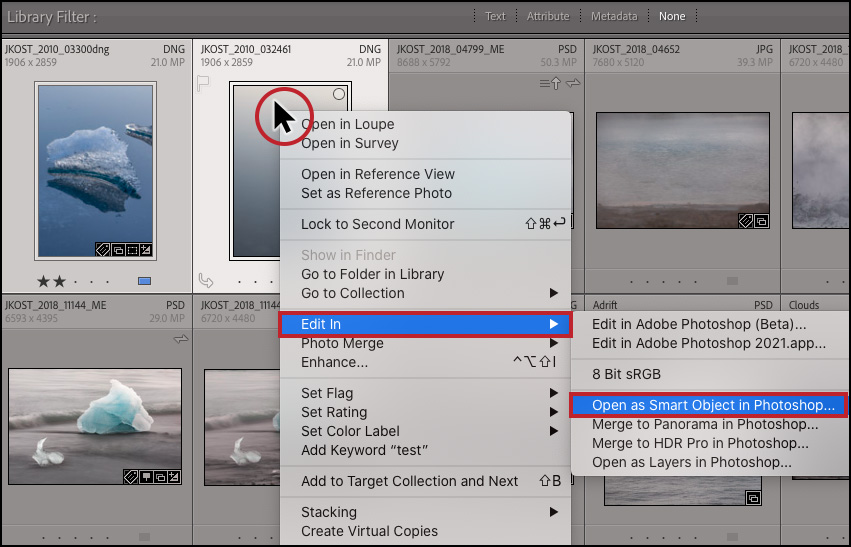
First, open the file(s) from Lightroom Classic into Photoshop as a Smart Object. Select the images and right -click (0r control -click (Mac) in the image thumbnail and choose Edit In > Open as Smart Object in Photoshop…).
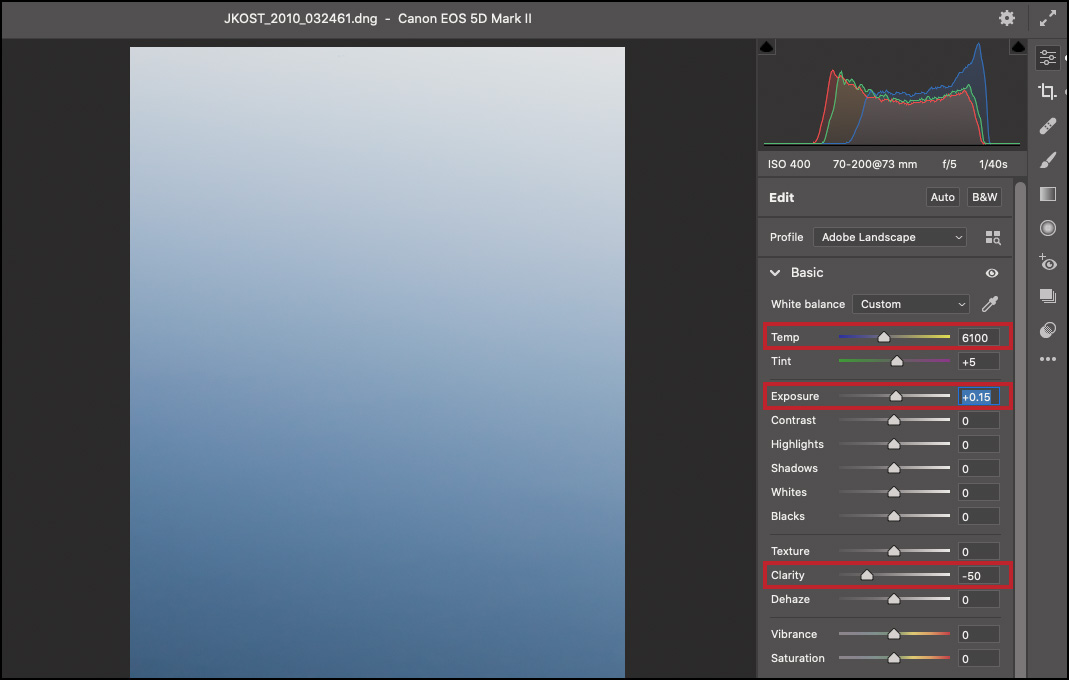
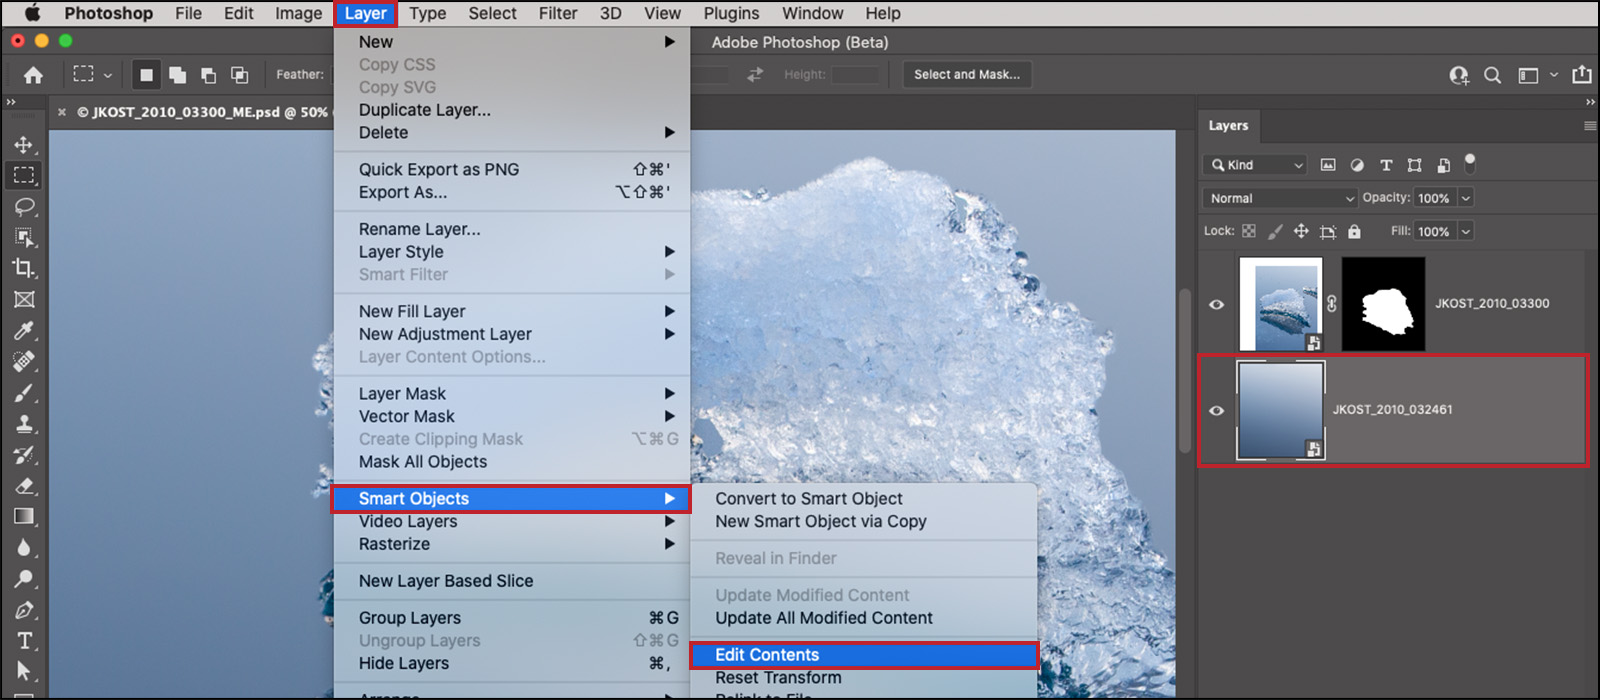
In Photoshop, choose Layer > Smart Objects > Edit Contents (or double click on the layer thumbnail in the Layer’s panel) and make the necessary adjustments in the Camera Raw dialog. In this example, I needed to adjust the colors and tones in the photo that I wanted to use as the new background for my iceberg (making changes to temperature, exposure and clarity in Camera Raw). Note: in this example my edits are fairly simple but often they’re more complex, making this technique a significant time-saver.
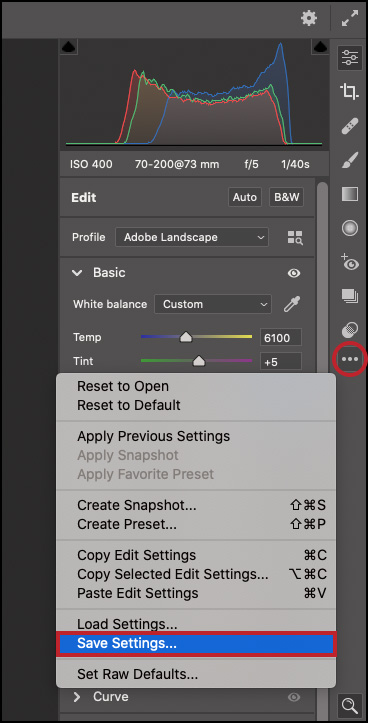
To copy the adjusted settings into the original raw file in Lightroom Classic, click the More icon (the three dots) and choose Save Settings.
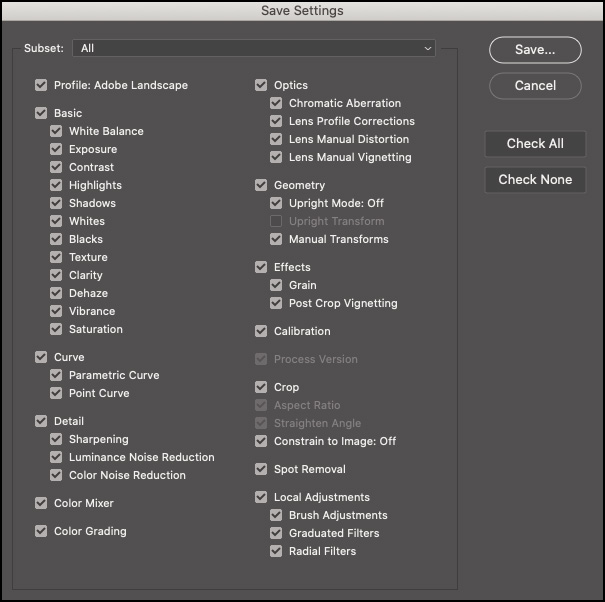
Select the settings that you want to save and click Save.
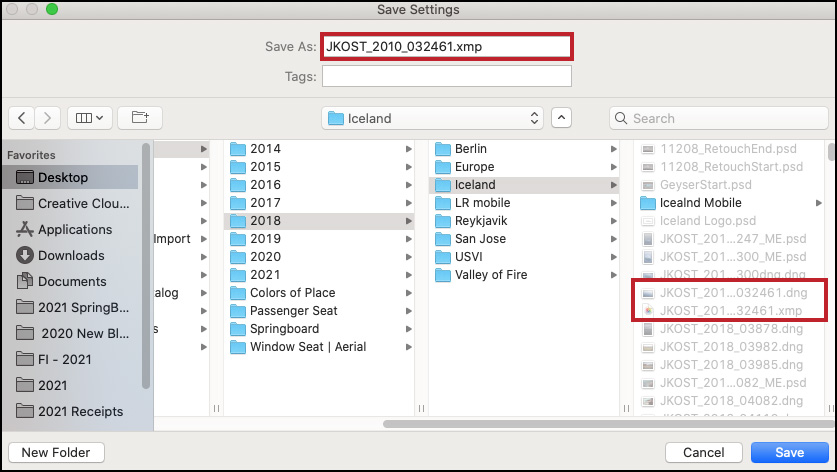
Save the settings to the same location as the original raw file. Note: this is not the default location that Lightroom Classic will display – you will need to navigate to the folder where the original raw file is saved on the hard drive (the original that is in the Lightroom Classic catalog).
• If your original file is a DNG, you will see an .xmp sidecar file next to the DNG in the operating system.
• If you’re working with a proprietary raw file format (Canon .cr2, Nikon .nef, Sony .arw etc.) and have not enabled Catalog Settings > Metadata > Automatically write changes to XMP in Lightroom Classic, you will see an .xmp sidecar file next to the proprietary raw file in the operating system.
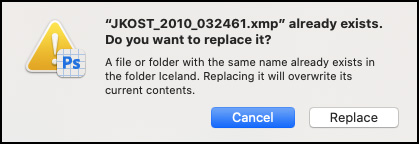
• If you’re working with a proprietary raw file format (Canon .cr2, Nikon .nef, Sony .arw etc.) and you had previously edited the original in Lightroom Classic and have enabled Catalog Settings > Metadata > Automatically write changes to XMP, an alert dialog will ask if you want to replace the existing .xmp file. Choose Replace to enable camera raw to replace the .xmp file with the new settings.
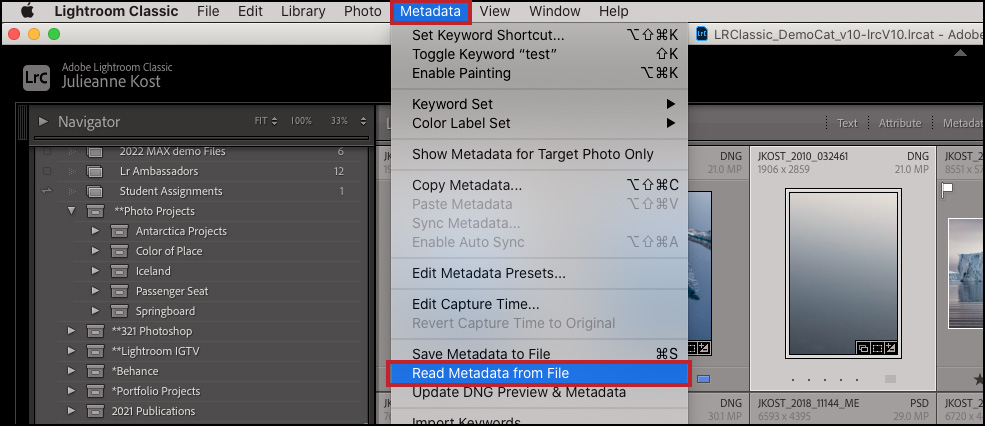
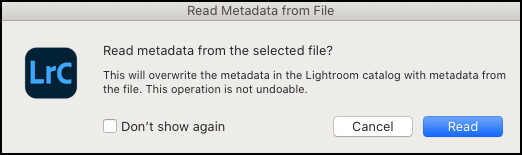
In Lightroom Classic, select the original raw file and choose Metadata > Read Metadata From File to update the original file with the settings that you saved from Camera Raw (in the .xmp file).
Although the dialog states that the operation is not undoable, that only means that you can’t use Edit > Undo to undo the update. If you need to return to the previous settings, use the History panel (in Lightroom Classic’s Develop module) to select the “From Metadata” state.
So now you know! The next time you want to save the settings from a Smart Object in Photoshop to the original raw file in Lightroom Classic just save the settings from the Camera Raw dialog.