In order to create a seamless pattern in Photoshop open the desired image and choose Filter > Other > Offset.

Original image.
Increase the values so that you will be able to easily see the offset and for Undefined area, choose Wrap Around.

If you see that the tonal values shift dramatically, choose Edit > Undo (to undo the offset filter) and make any necessary adjustments to even out the lighting across the image.

Here we can see that the tonal values shifted significantly from the left to the right side of the original image. The tile will not be seamless in this case, unless the tonality is fixed before continuing.

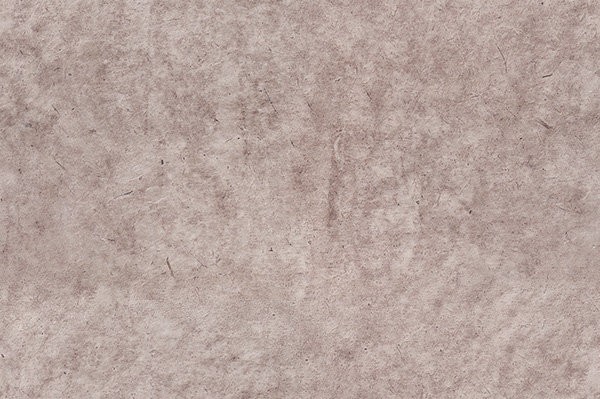
This is a much better starting point because the lighting is more even across the image. (Adjustments were made using the Graduated Filter and Adjustment Brush in Camera Raw.)

After applying the offset filter to the evenly lit image, the seams are much less noticeable.
Use the Healing Brush or clone stamp tools to remove any noticeable seams – being careful next to the borders of the image (if you change the border areas, it might not tile seamlessly).
 To verify that the pattern will be seamless, run the filter again – this time you shouldn’t see any seams. If you do, use the Healing brush to remove them and run the filter again.
Once the file is seamless, choose Select > Select All and then Edit > Define Pattern. Give the pattern a notable name and click OK. This pattern will now be available when using Edit > Fill, Layer Styles, Pattern Fill Layers, the Pattern Stamp, Healing Brush, Shape Tools (for both Fill and Stroke) and when creating Brushes (using the Texture attribute).
Note: because it is easier to create a seamless pattern when the original image is evenly lit, I have found that scanning textures (such as paper), produces very good results. In addition, try to avoid obvious items in the texture that will easily be spotted when the pattern is repeated.
2022 – update: you can also use the “Extract From Image” feature in Photoshop’s Libraries panel. It’s a fast and easy way to extract seamless patterns, vector shapes, colors, gradients, and character attributes. Check out the video below to learn how easy it is to start creating assets.