Photoshop 2020 (v21) added three new panels for organizing and applying Gradients, Patterns, and Shapes, as well as updated the Swatches and Styles panels. While the video at the bottom of this post covers these features, I realize that sometimes it’s easier to read about the new functionality so I’ve explained them below and added a few shortcuts which I find helpful when working with shapes (and which aren’t cover in the original video).
New Default Presets
There are new default presets for Swatches, Gradients, Patterns, Styles, and Shapes.
• Patterns, Styles and Shapes have additional presets which can be loaded by clicking the corresponding panel’s fly-out menu and selecting Legacy Presets and More.
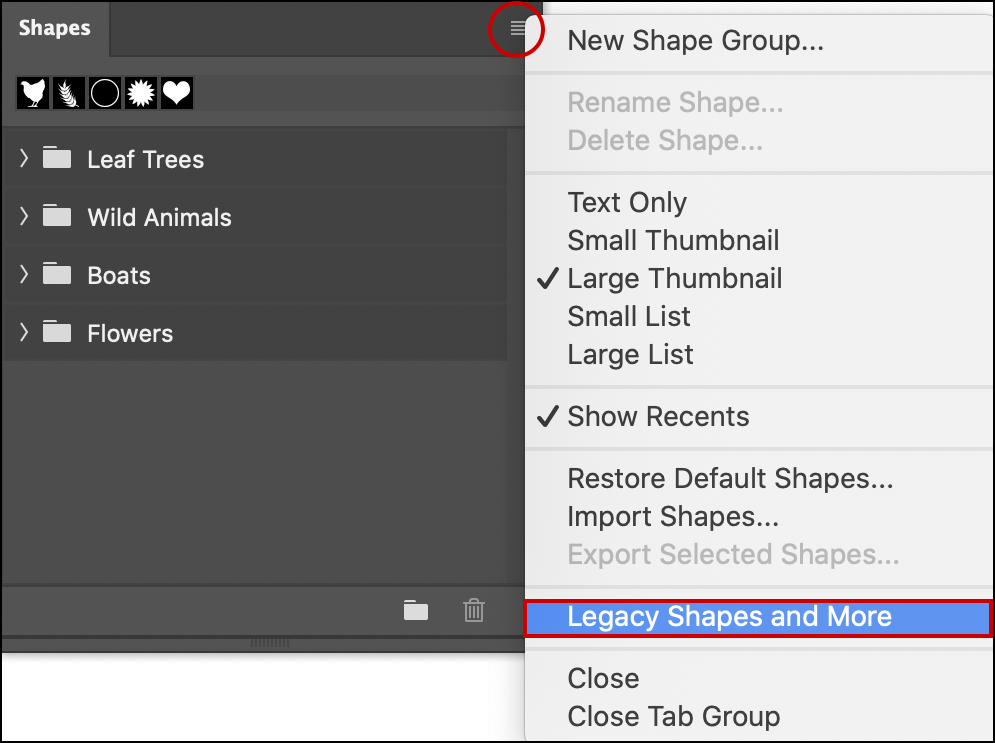
• Legacy presets can be loaded from the fly-out menu for all panels.
Organizing Presets and Groups
You can easily organize presets into groups (without having to use the Preset Manager as in previous versions).
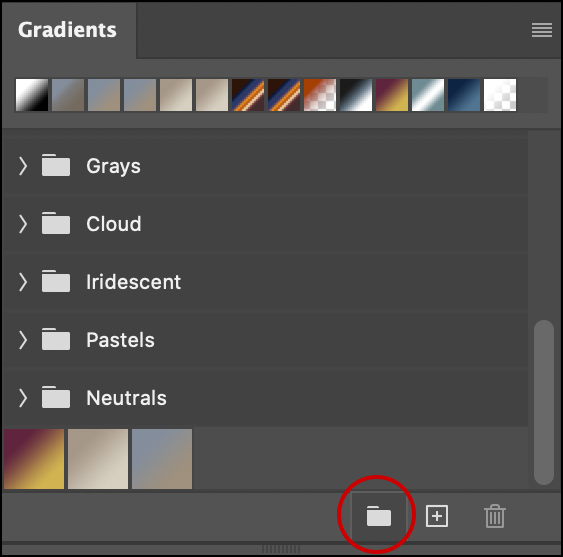
• Click the Group icon to create a new folder.
• Drag and drop within the panel to re-order and move presets between groups. Shift-click to select multiple presets. Tap the Delete key to delete a selected preset(s).
• Use the fly-out menu or Control -click (Mac) | Right -click (Win) on a preset for additional options (such as importing, exporting, renaming, deleting etc.).
• Command -click (Mac) | Control -click (Win) on a Group’s disclosure triangle to expand/collapse all groups at once.
• When choosing to Add, Import, or Restore presets, they will alway append the default set(s), never replace.
• To automatically load a groups of presets on launch, place the saved presets in the Adobe user default location:
MAC: ~ > Library > Application Support Adobe > Adobe Photoshop 2020 > Presets
Windows: ~ \AppData\Roaming\Adobe\Adobe Photoshop 2020\Presets
Applying Presets
The contents of the layer (bitmap, vector, type etc.) will determine how the preset is applied: as a property of the layer, as an adjustment layer or, as a Layer Style/Effect. Presets can be applied in the following ways:
• By clicking on the preset in the panel.
• By dragging and dropping the preset from the panel onto the desired layer in the Layer’s panel.
• By dragging and dropping the preset from the panel onto the layer content in the canvas area.
Clicking on a preset in a panel will have the following effect:
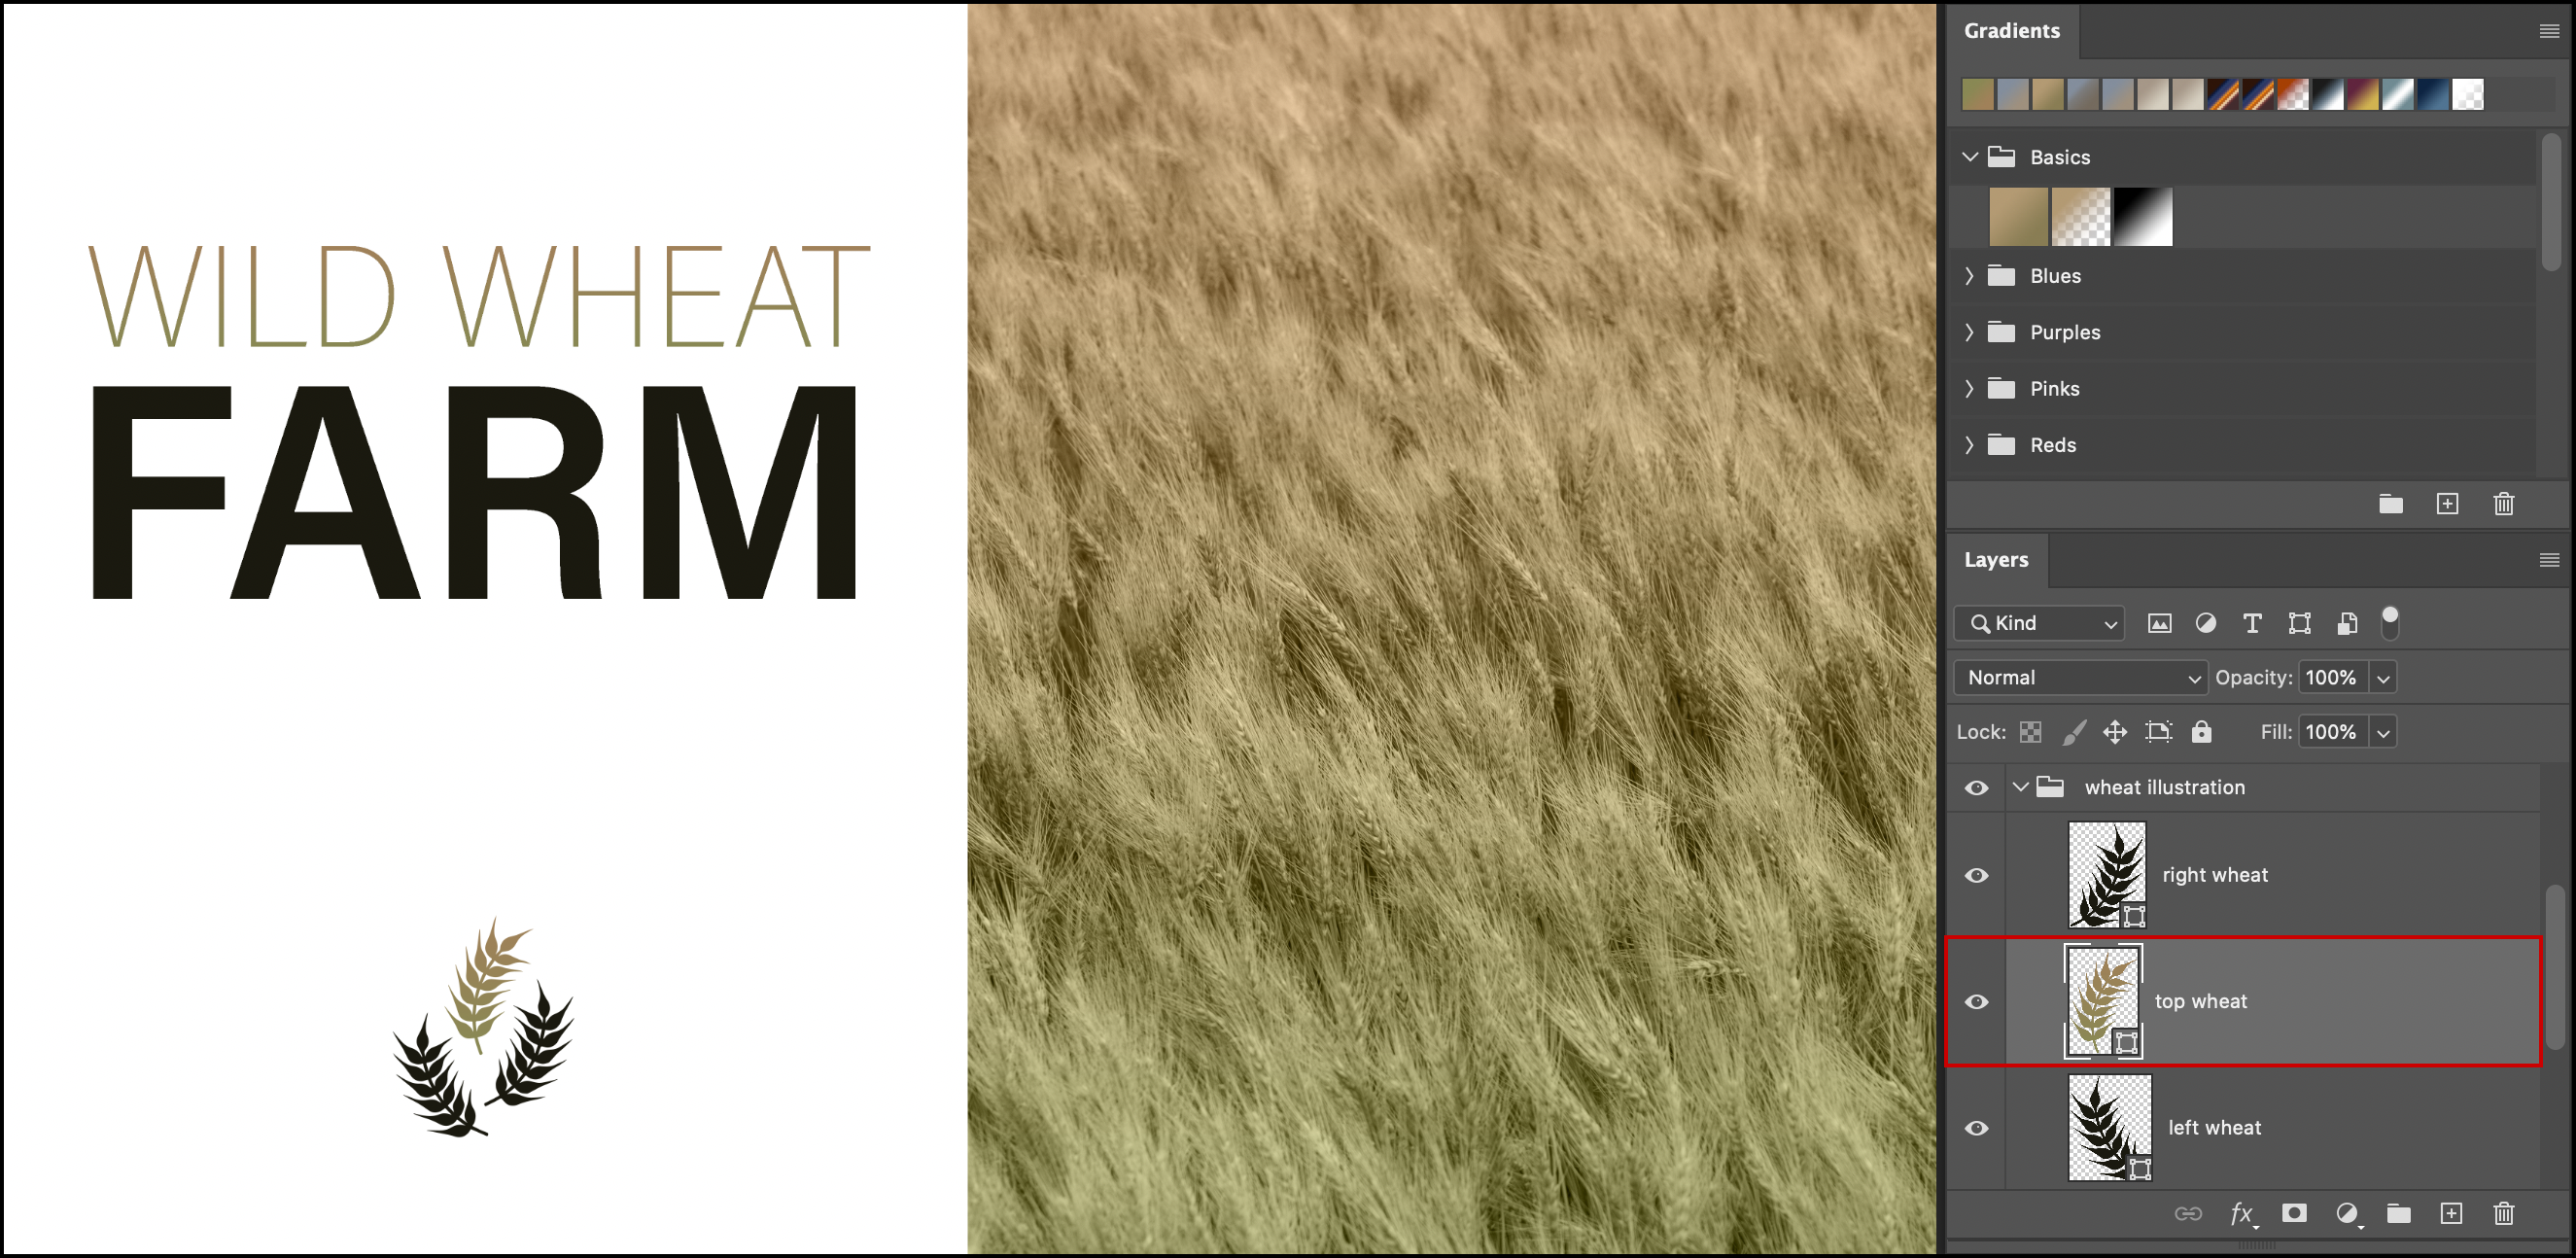
• When a Bitmap layer is selected (a photo for example), clicking on a color in the Swatches panel simply changes the foreground color. However, clicking on a Gradient or Pattern preset will create a Gradient or Pattern Fill layer and clip it to the layer (via a Clipping Mask).
With the Bitmap (photo) layer selected, clicking on a Gradient preset creates a Gradient Fill layer and clips it to the layer (via a Clipping Mask). Note: in this example, I’ve changed the Blend Mode for the Gradient Fill layer to Color.
• With a Vector layer selected (a shape layer for example), clicking on a Swatch, Gradient or Pattern preset, changes the Vector layer’s fill.
With the Vector layer selected, clicking on a Gradient preset changes the Vector layer’s fill.
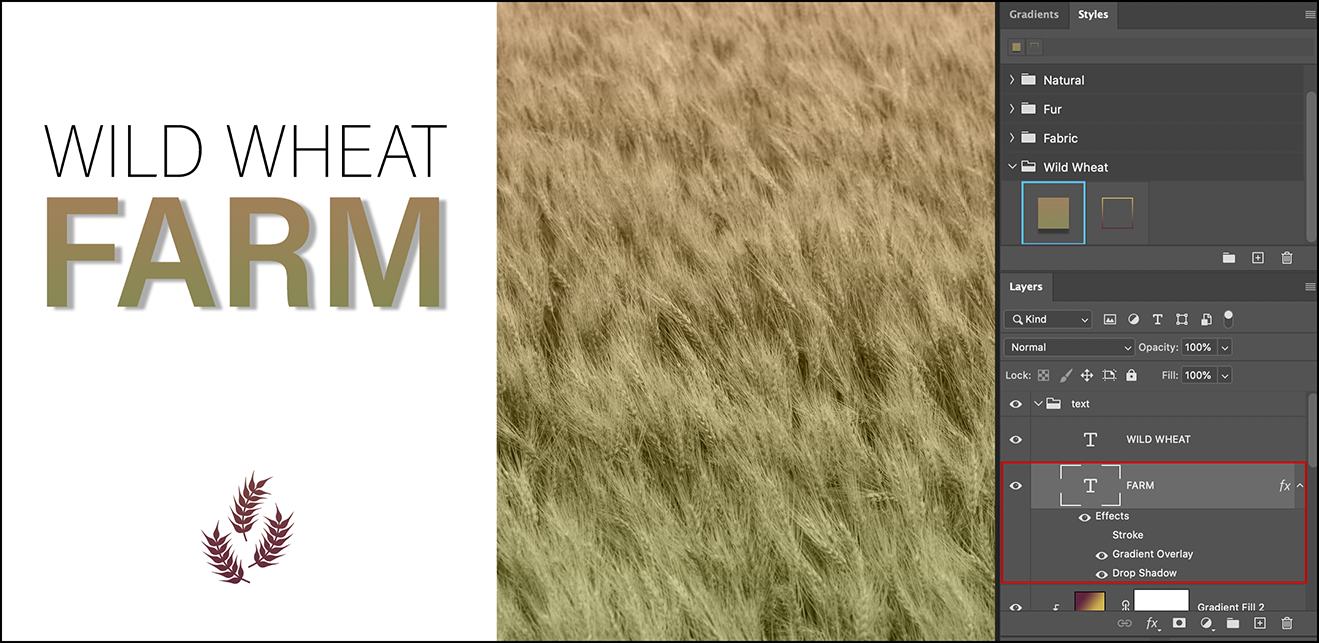
• With a Type layer selected, clicking on a color swatch changes the Type layer’s fill. Clicking on a Gradient or Pattern adds the preset as a Layer Effect/Style (because Type layers can’t be filled with gradients or patterns).
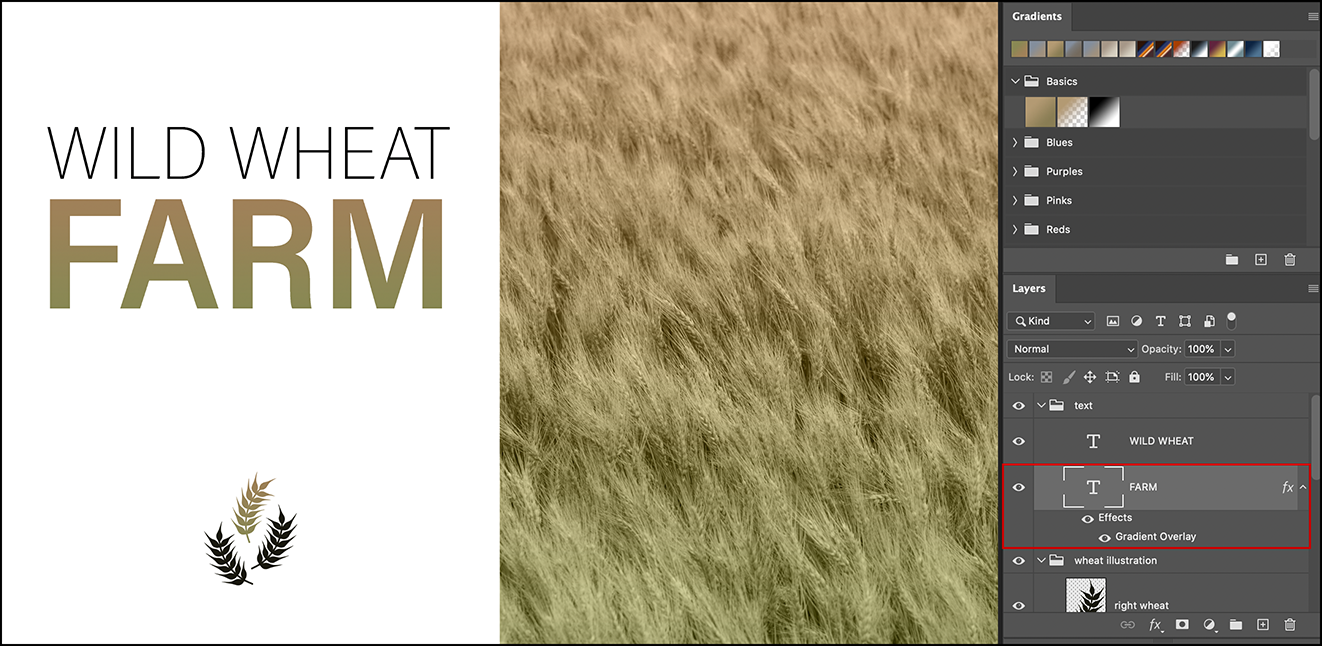
With a Type layer selected, clicking on a Gradient preset adds a Layer Effect/Style.
• With a Layer Group or Smart Object selected, clicking on a swatch simply changes the foreground color. But, clicking on a Gradient or Pattern preset creates a Gradient or Pattern Fill layer and clips it to the layer (via a Clipping Mask).
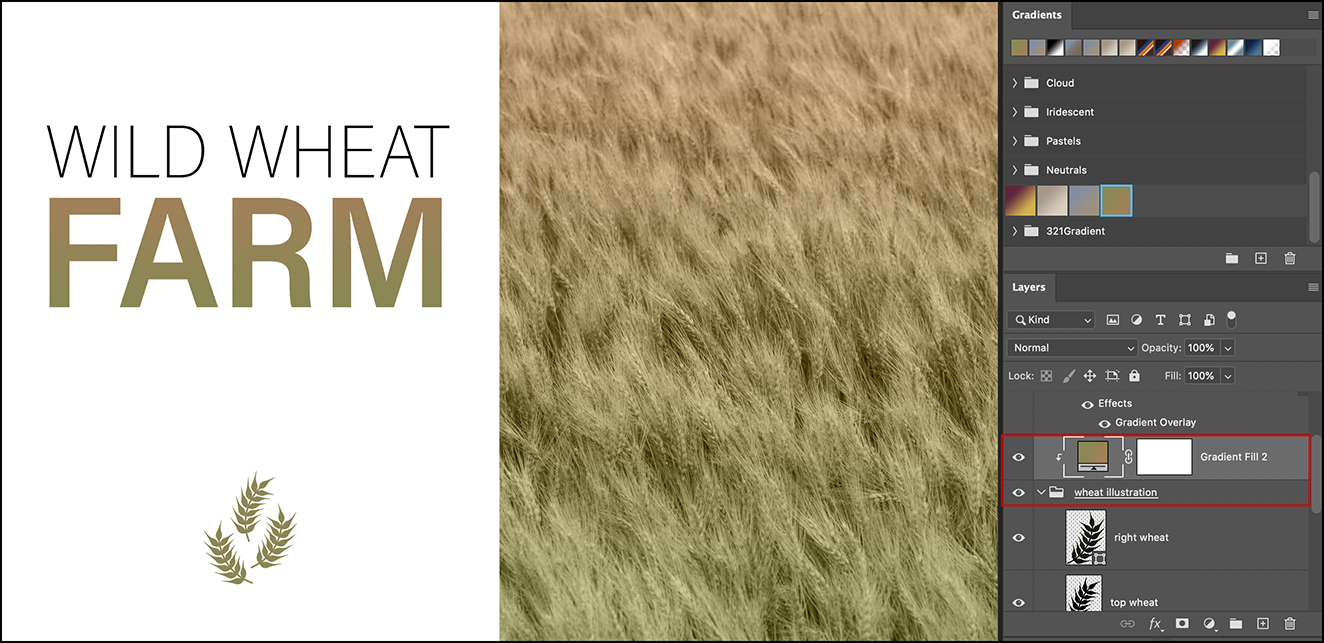
With a Layer Group selected, clicking on a Gradient preset creates a Gradient Fill layer and and clips it to the Layer Group (via a Clipping Mask).
• With a Fill Layer selected (Color, Gradient, or Pattern), clicking another preset of the same type as the layer, will update the contents of the Fill Layer.
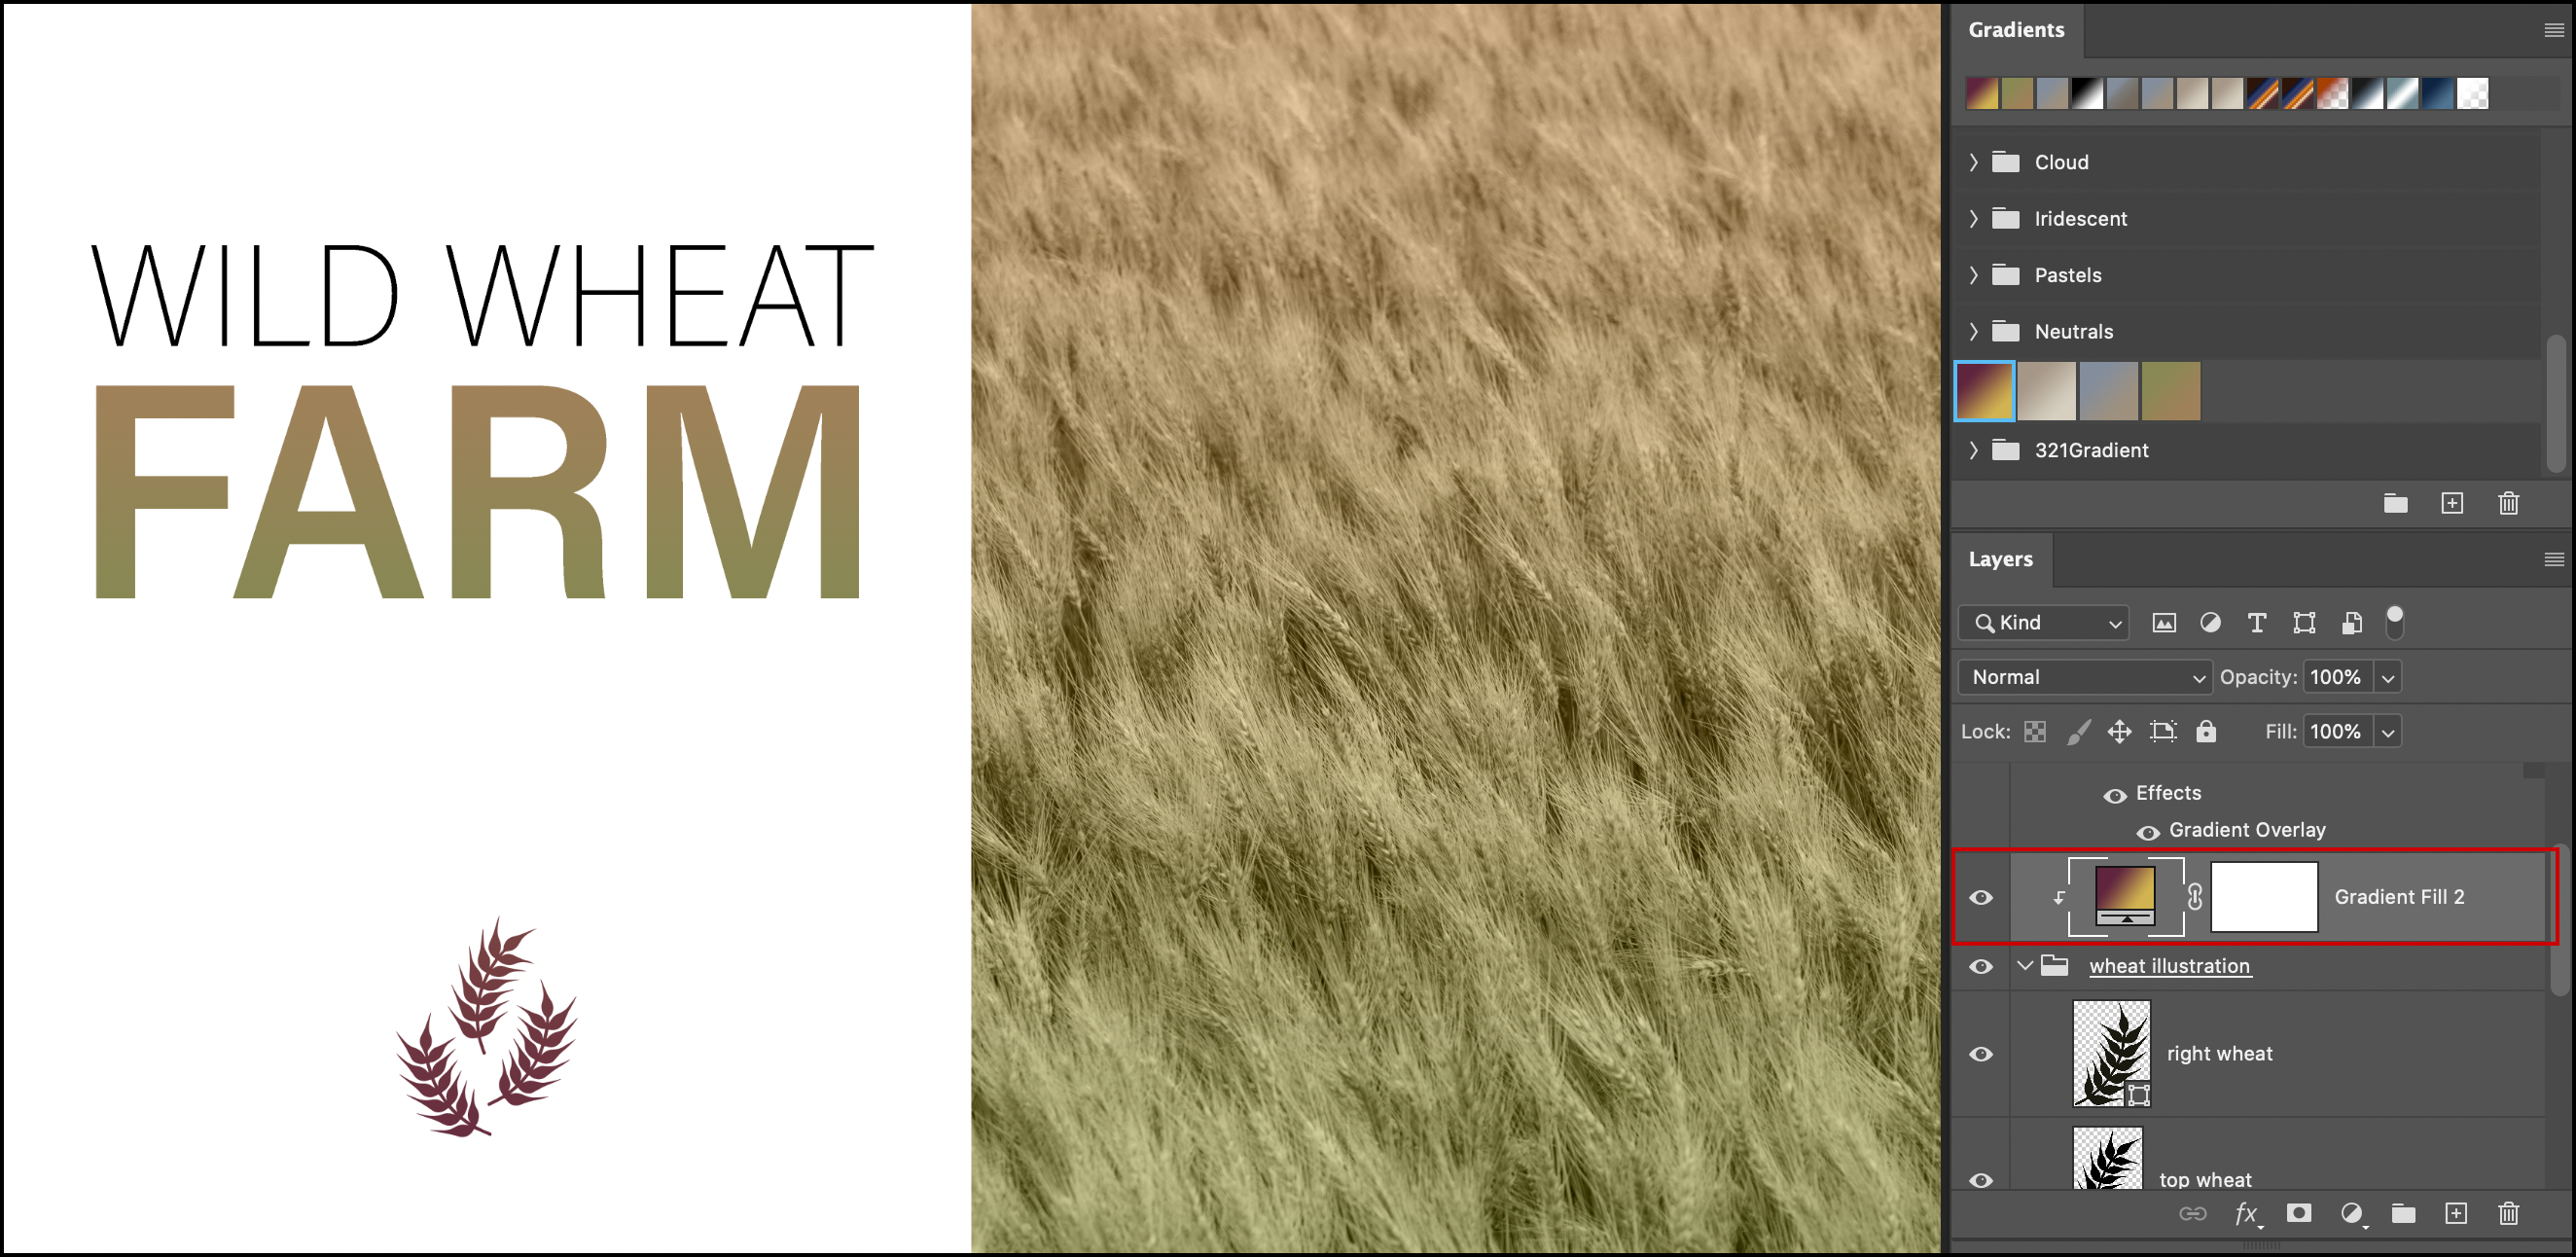
With the Gradient Fill layer selected, clicking on the Red to Yellow Gradient preset updates the previously applied gradient.
• With any type of layer selected, clicking on a Style preset adds a Layer Style/Effect (replacing any effects that are already applied).
Drag and dropping a preset onto a layers on the Layers panel or onto the layer content in the canvas will have the same default behavior as “clicking” on the preset in the panel with the following exception: dragging and dropping a color swatch onto a bitmap layer or a Layer Group creates a Color Fill layer, clipped to the layer (via a Clipping Mask).
To override the default drag and drop behavior with Swatches, Gradients and Patterns, use the following keyboard modifiers:
• Option (Mac) | Alt (Win) creates unclipped Fill layers (in other words, no Clipping Mask is applied).
• Command (Mac) | Control (Win) creates clipped Fill Layers (via a Clipping Mask).
• Option + Command (Mac) | Alt + Control (Win) creates a Layer Style.
Note: for consistency, you will notice that some of the behaviors stay the same regardless of whether or not you use the modifier (because it would be far too confusing to have to remember different modifiers for each different type of layer and preset combination)! For example, dragging and dropping a Gradient preset to a Bitmap layer on the Layers panel creates a Gradient Fill layer clipped to the bitmap: adding the Command (Mac) | Control (Win) key produces the same result. However, if you drag and drop a Gradient preset to a Type layer, it would be applied as a Layer Effect/Style – unless you hold the keyboard modifier Command (Mac) | Control (Win) – in which case it creates a clipped Gradient Fill layer (via a Clipping Mask).
• When dragging and dropping Layer Effects/Styles, hold the Shift key to Append the style/effects (the default is to replace the style/effects).
Shape Layers By default, dragging and dropping a Shape preset into the canvas creates a new Shape Layer. To make it easier to combine shapes, when dragging and dropping, use the following keyboard modifiers:
• Shift will Combine the shapes.
• Option (Mac) | Alt (Win) will Subtract the shape.
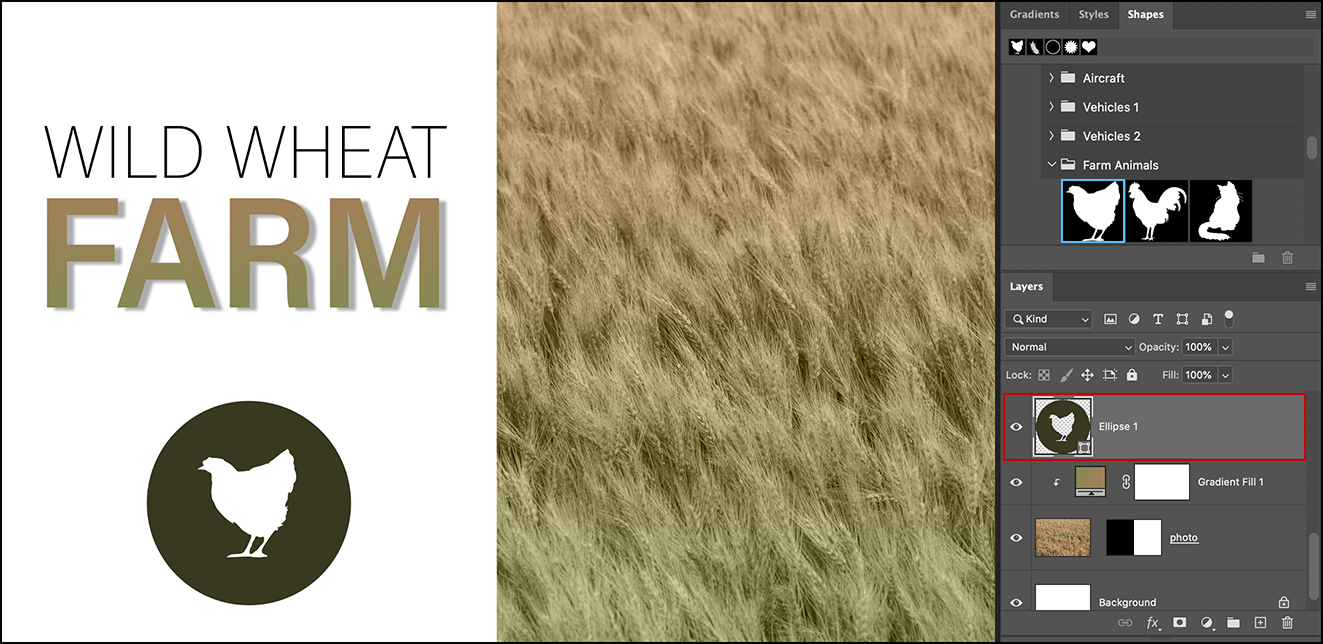
Dragging the Hen shape preset onto the shape layer of the circle, subtracts the hen shape from the circle.
• Shift + Option (Mac) | Shift + Alt (Win) will intersect the shapes.
Dragging and Dropping to Locked Layers
When dragging a Swatch, Gradient or Pattern to a locked layer (background or normal locked layer), a new adjustment layer will be created on top of the locked layer however a Clipping Mask will not be applied. .
The video below demonstrates the use of Presets in Photoshop.
[…] Read The Entire Article By Julieanne Kost Here. […]
Best guide for beginners. Many thank